 Skip to content
PLEASE VERIFY YOUR CLIPPING BEFORE YOU GO ACTIVE ADMIN.
If your settings are untested, please grab a clip and verify you can hear both your game audio as well as your mic.
Nvidia Shadowplay #
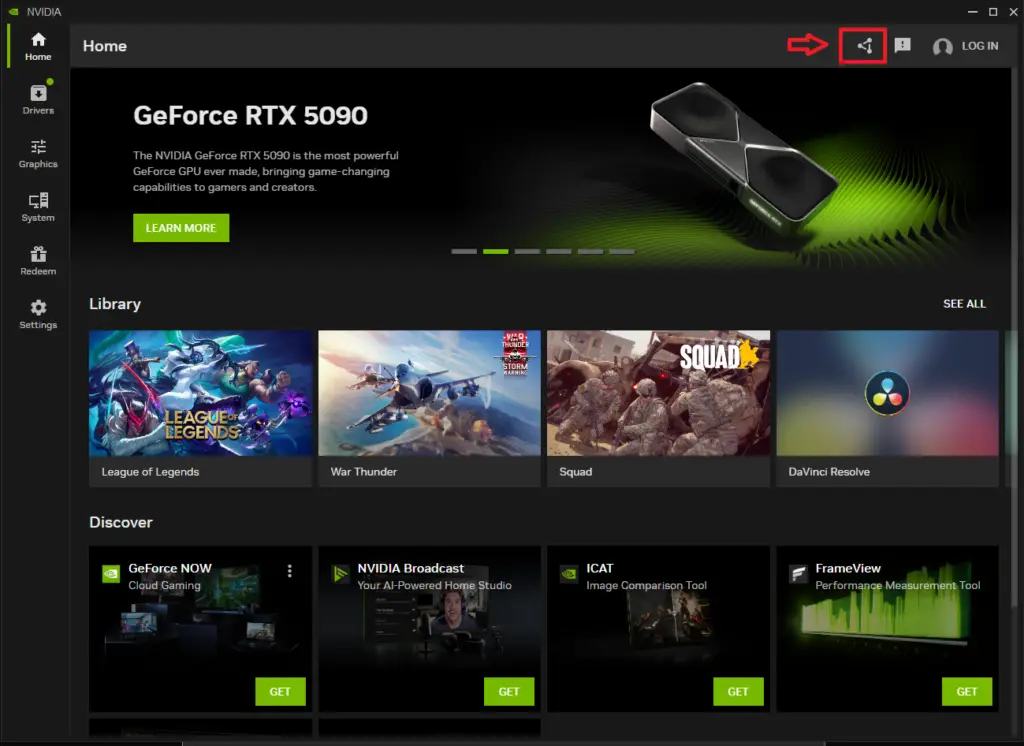
Head to your search bar and type “Nvidia”. Open the app and from the home page, select the “overlay” icon as shown in the image below.
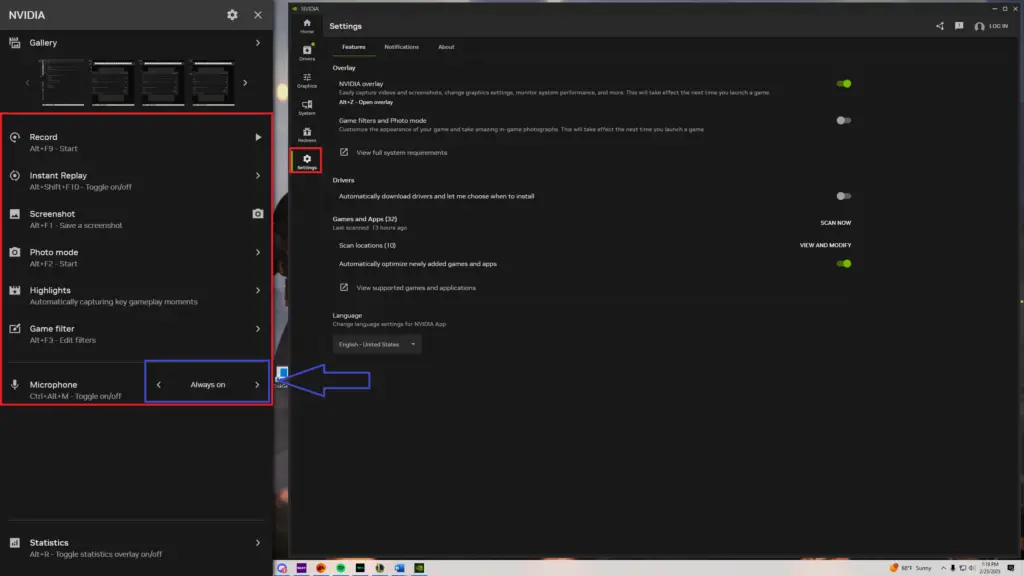
After you have opened your overlay, head to your settings tab and verify your keybinds, recording location and audio/video settings. Verify that your mic is set to always on to capture any audio that may be coming through for clipping purposes.
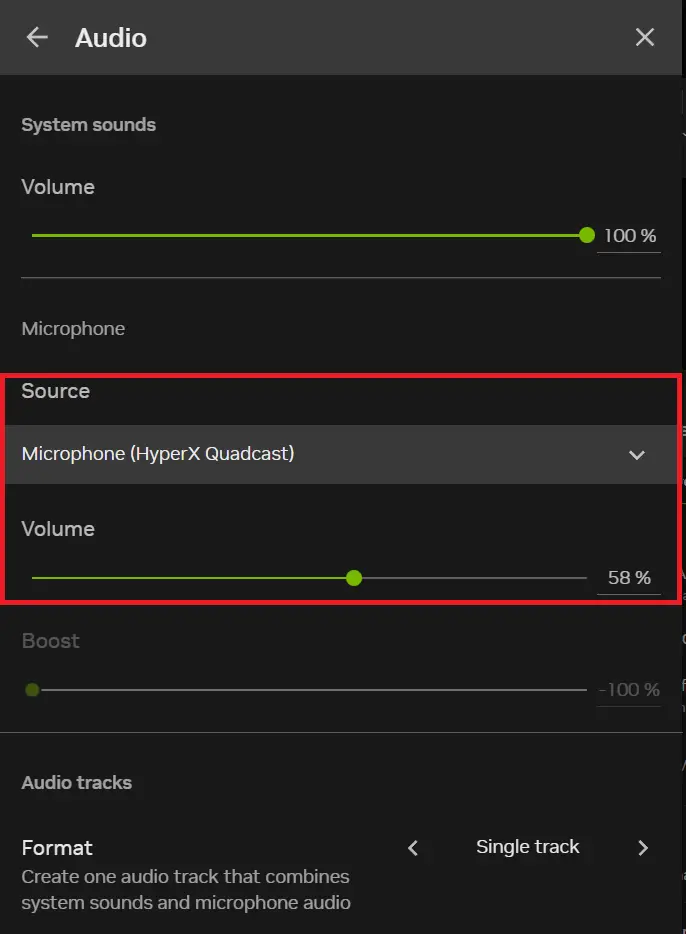
Verify your mic settings in game as well to make sure its picking up the proper audio.
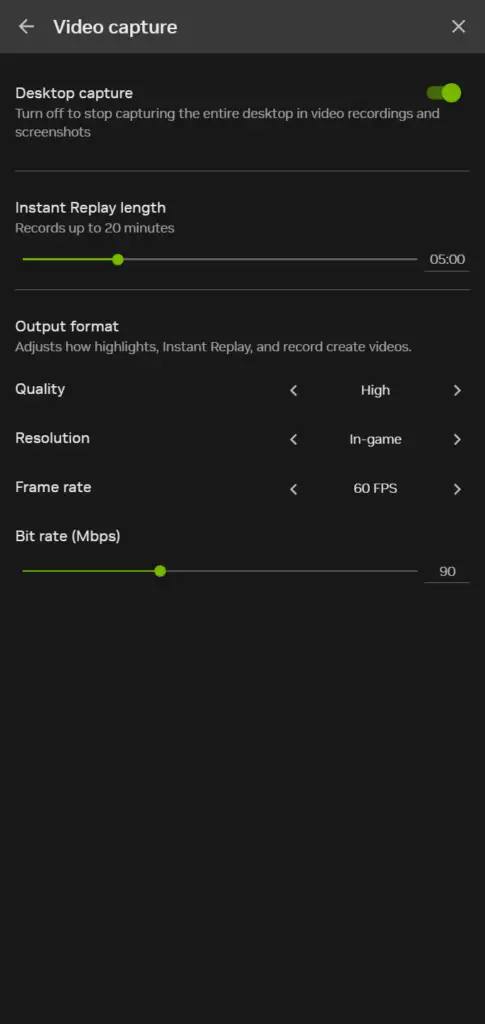
Finally, you can adjust your clip length, quality, resolution and frame rate under “Video Capture” settings.
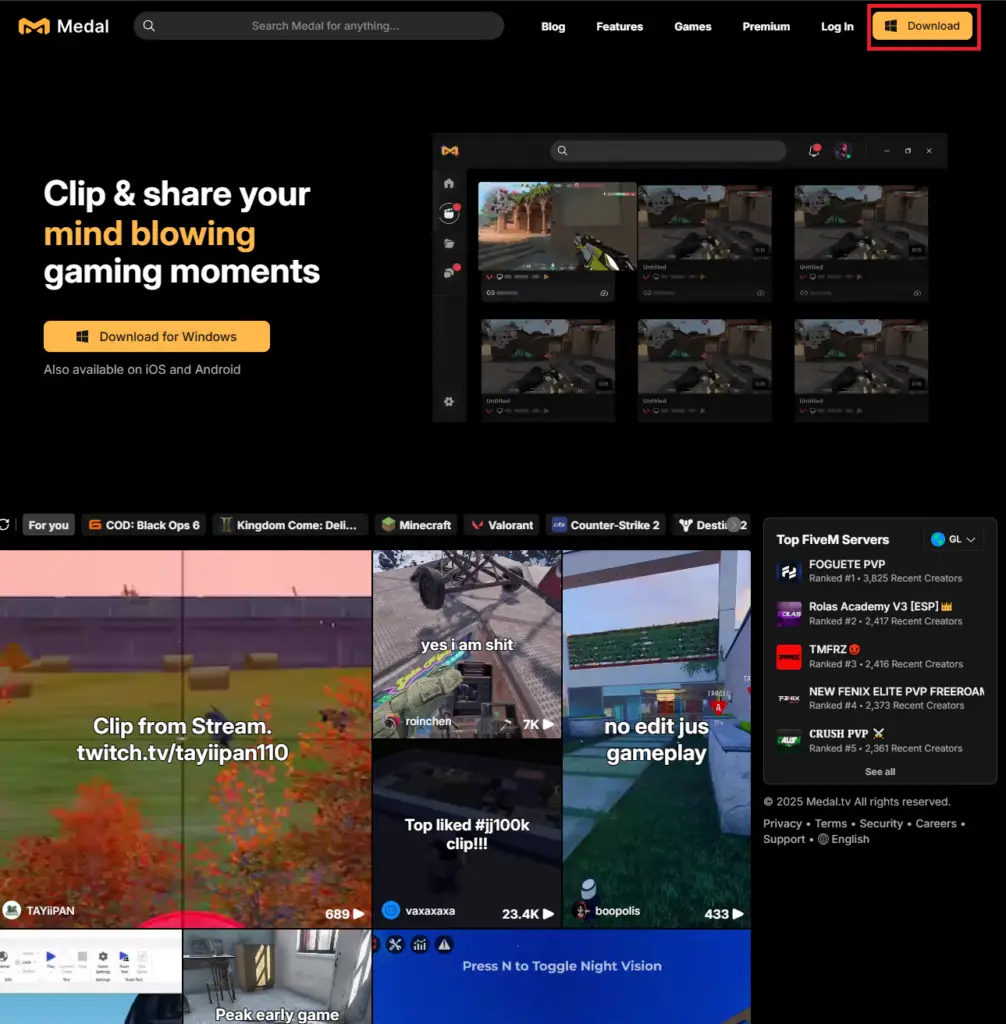
Medal.Tv #
Head over to Medal.Tv and download the app
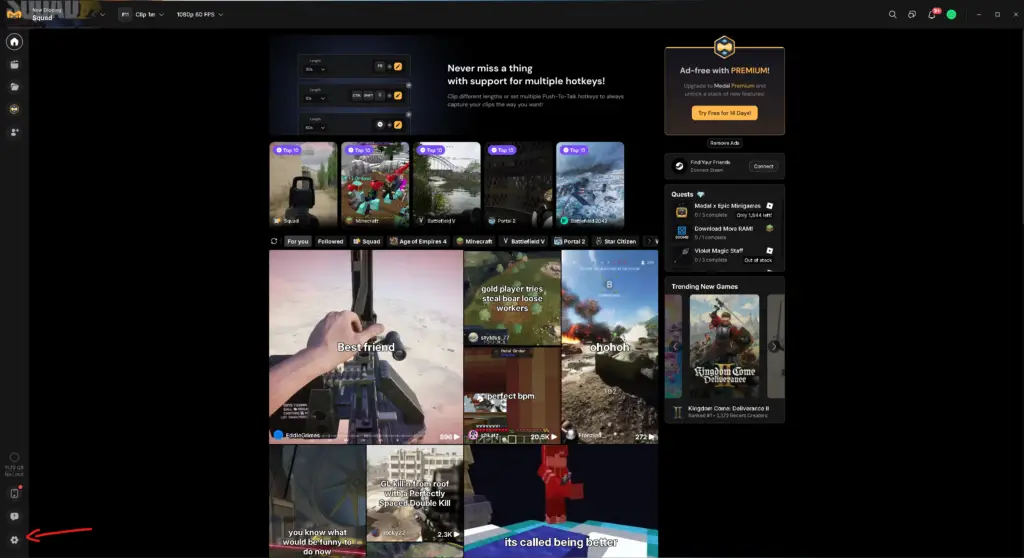
Once the app is downloaded, launch it and click the settings icon in the lower left section on the main page
In the settings screen, you can adjust your clipping hotkeys, length, and quality as shown below in “Audio & Camera”.
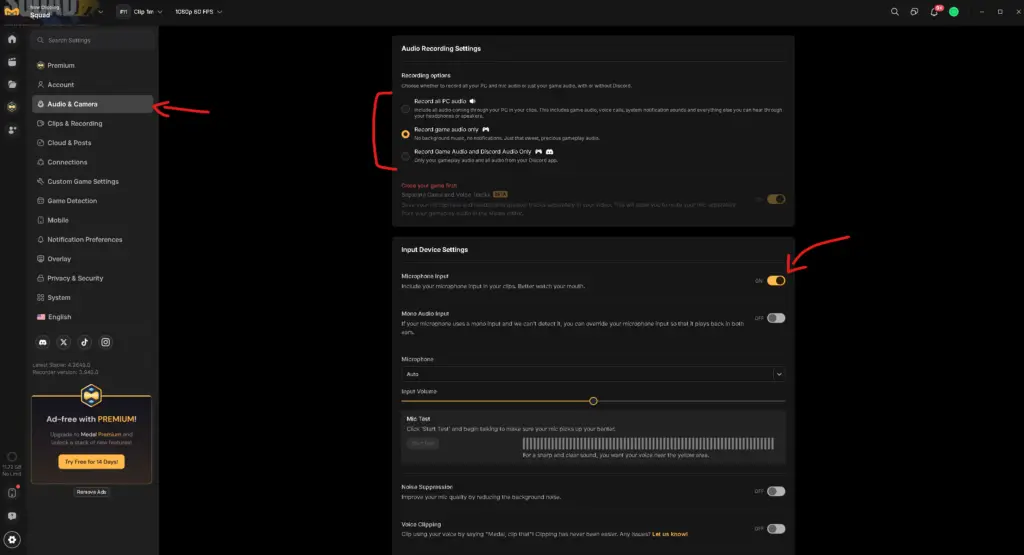
Other options you should make sure are enabled are “Microphone input” and “Record game audio only” to make sure your clips include YOUR VOICE and YOUR GAMEPLAY perspective.

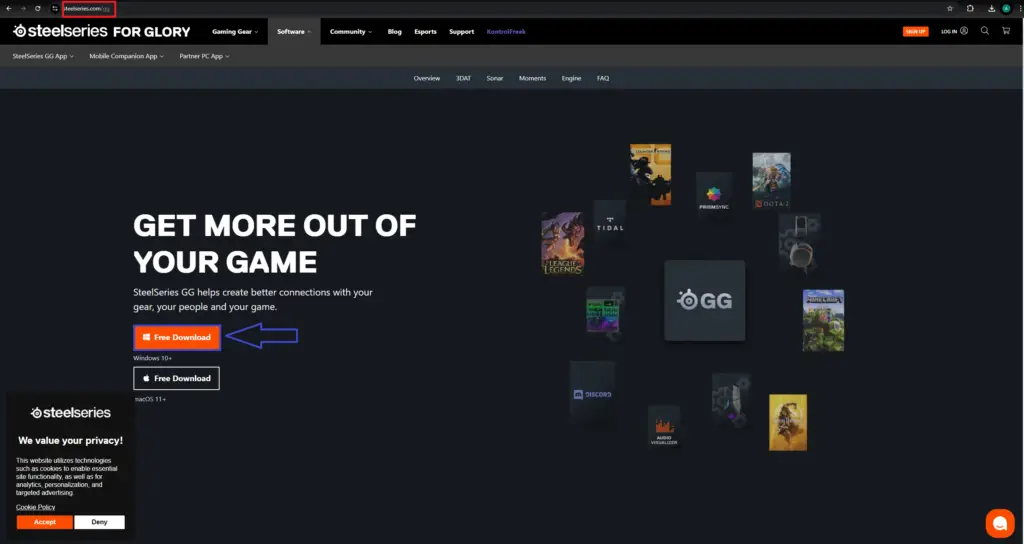
Steelseries.GG #
Head to Steelseries.GG, go to the software tab and download the software.
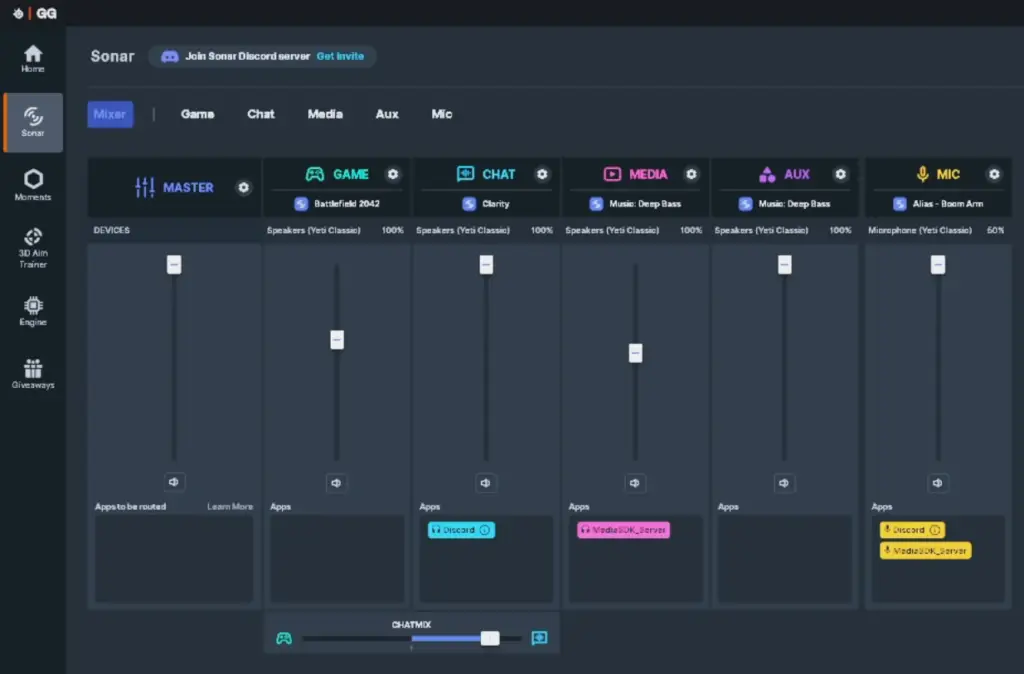
Once you have the software downloaded, you can change some audio settings from the “Sonar” page. This includes game audio, Microphone, etc. Make sure you have the proper mic selected under the “MIC” tab to ensure YOUR GAME audio and YOUR VOICE are both being captured.
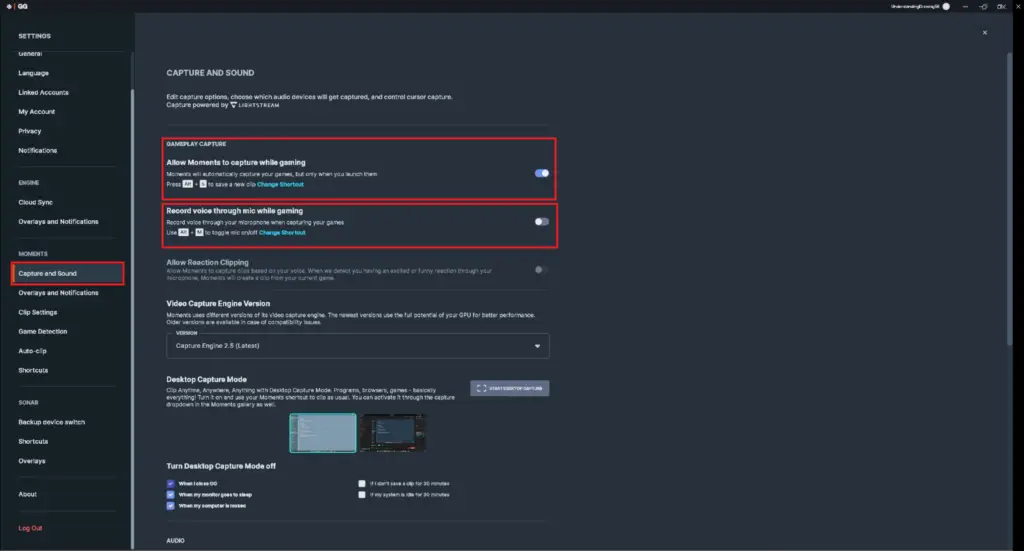
Click the settings cog in the lower left corner of the screen and pull up your settings. Under the settings, make sure you have “Gameplay Capture” on and I highly recommend having “Record voice through mic while gaming” to also be turned on. This will capture your voice even if the in game audio fails.
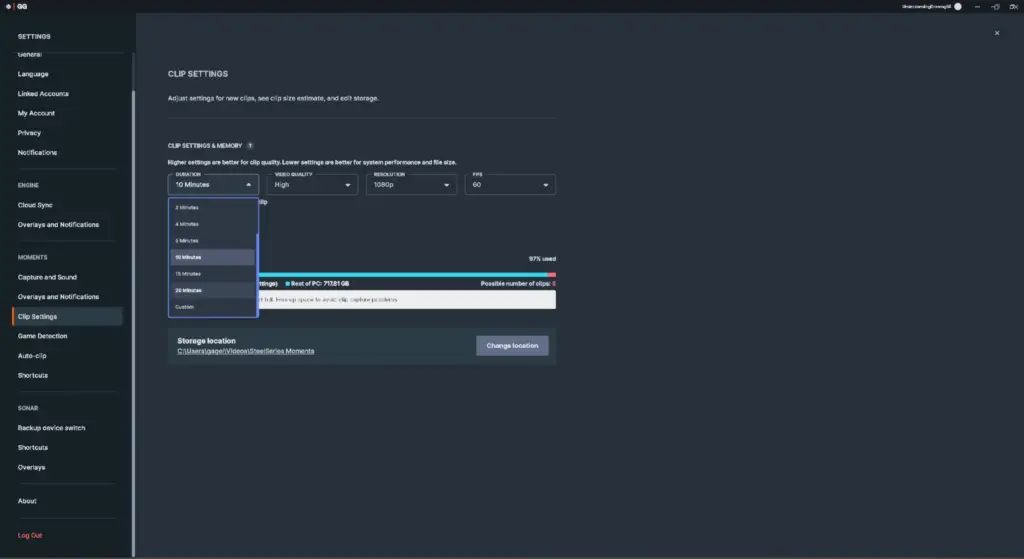
Next, select the “Clip Settings” section under “moments” in your settings screen. From here you can adjust your clip duration, quality, resolution and FPS as well as the storage location.
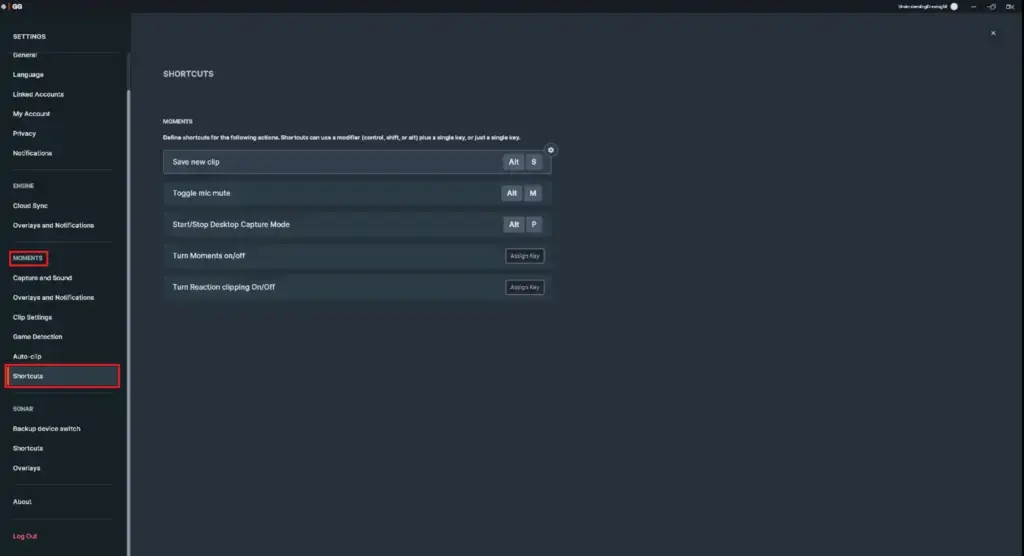
You can adjust your hotkeys from the same menu under the “Shortcuts” section
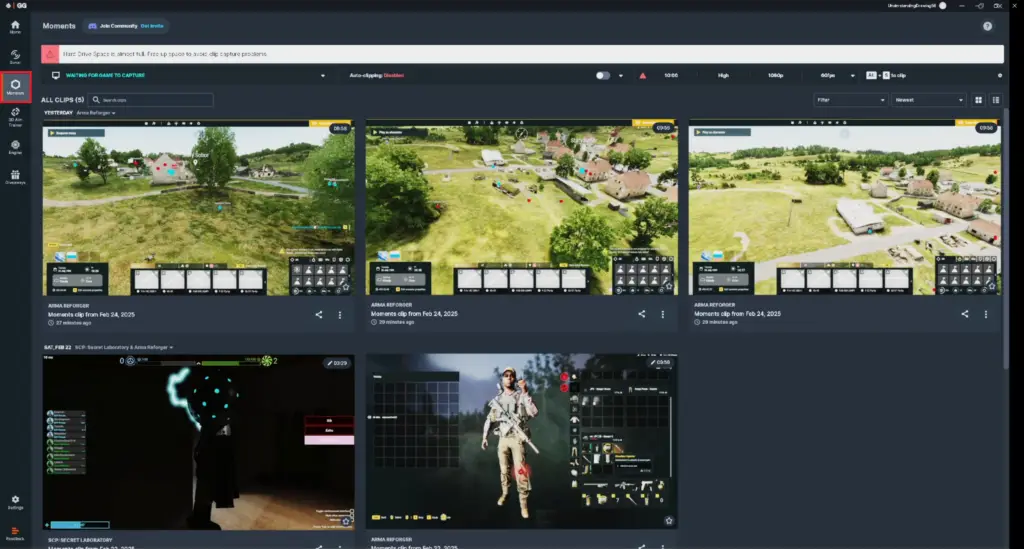
Finally, navigate to the “Moments” tab to adjust and view your clips.
Streamlabs #
**Disclaimer: Streamlabs and OBS are not recommended as they heavily impact performance.**
Download the app from streamlabs.com
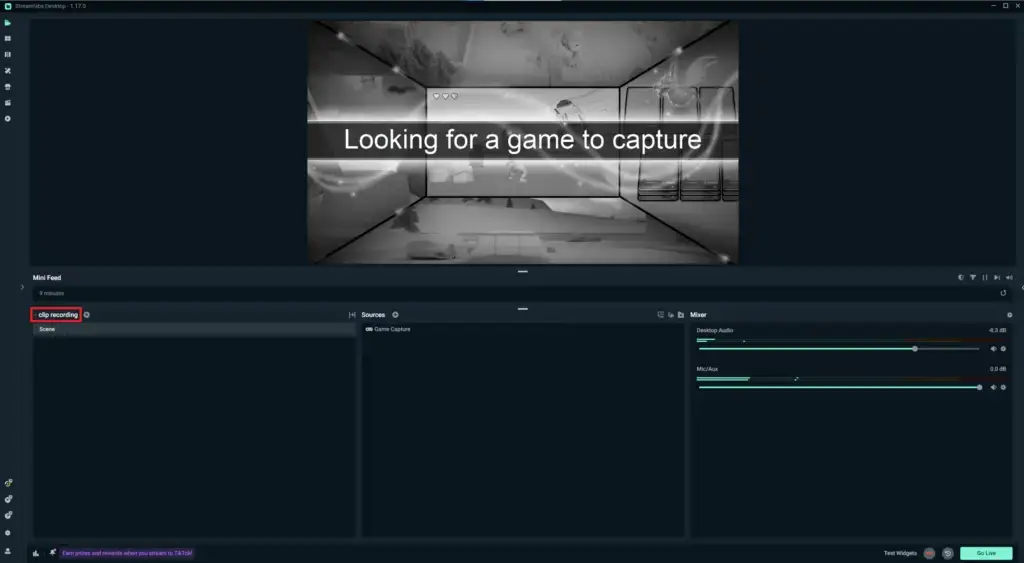
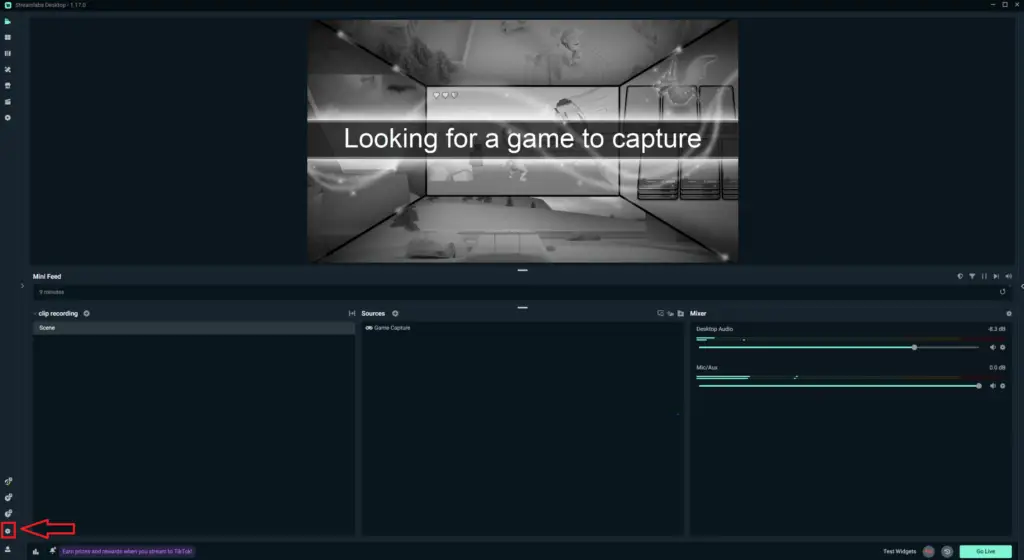
For Streamlabs, launch your app and click the “Scene” dropdown. From there, we will work on setting up your clipping.
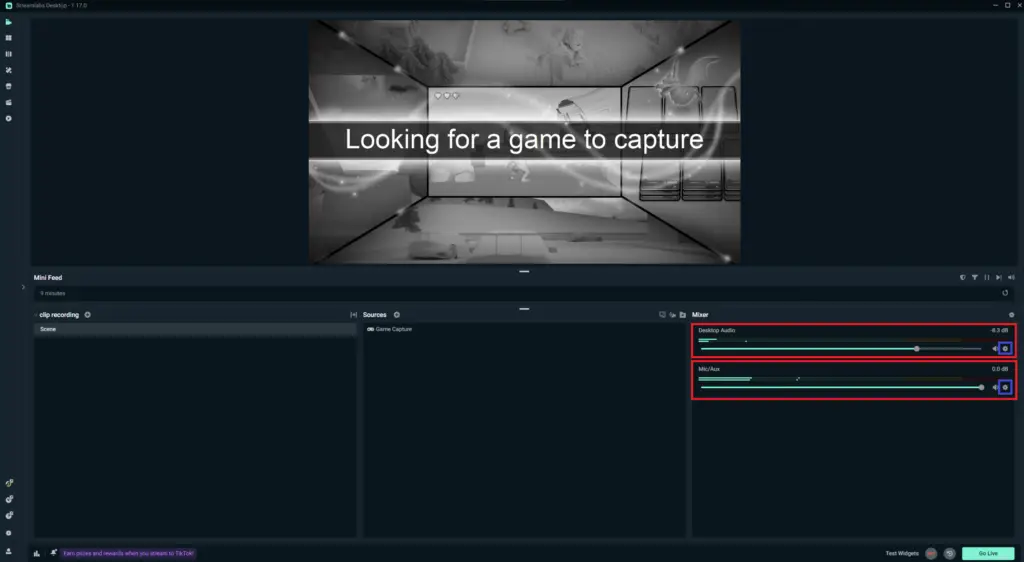
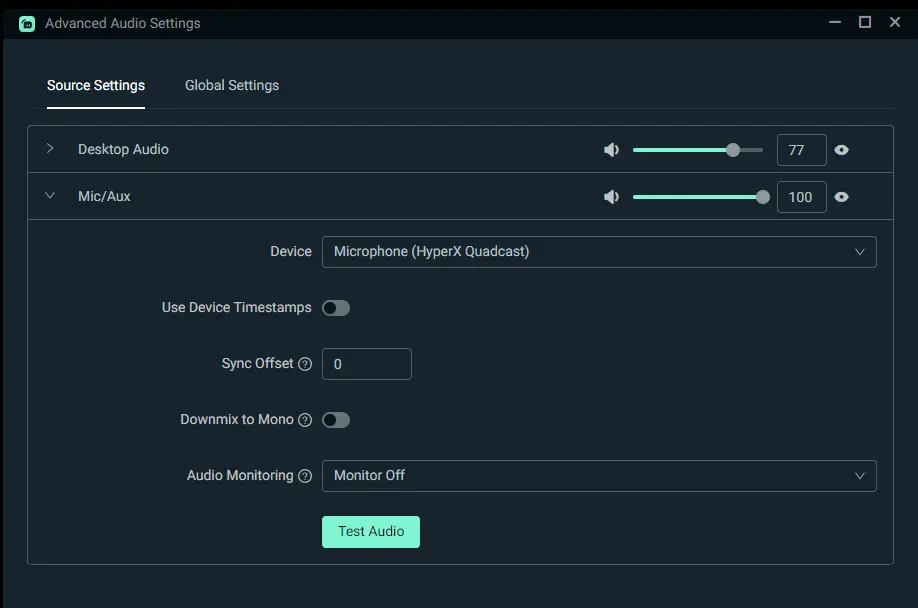
Next, we need to verify the proper desktop and microphone audio. In the lower right corner, select the “Desktop Audio” or “Mic/Aux” settings cog as highlighted below.
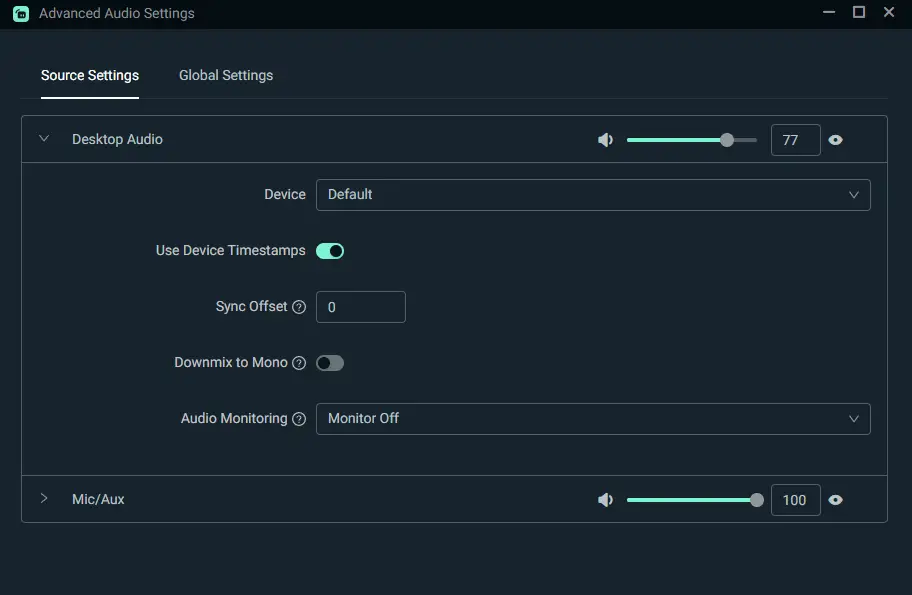
Select the cog for either and select “Properties” from the dropdown to bring up the settings menu. Under these you can adjust your default capture devices. I recommend setting your Mic manually here. The pictures below show the “Desktop audio” first and the “Mic/Aux” setting under it.
Next, Head to your settings tab in the lower right corner.
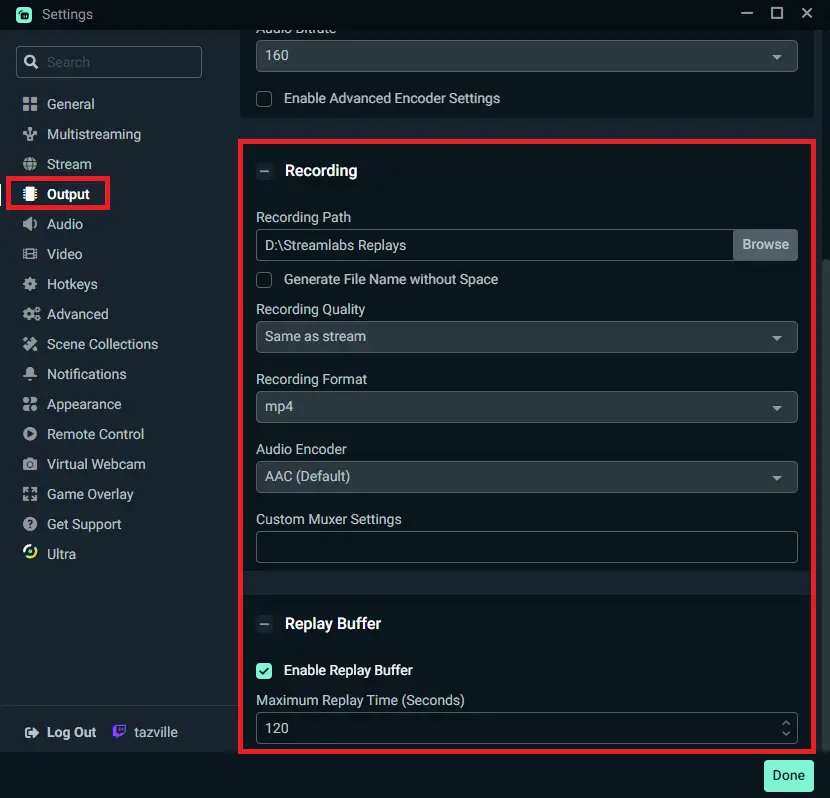
Once you have opened up your settings, you’ll want to set and adjust your clips. Click on the “Output” tab and adjust your recording path and “Enable Replay Buffer”. You can adjust your clip length through this menu as well to whatever length you would like.
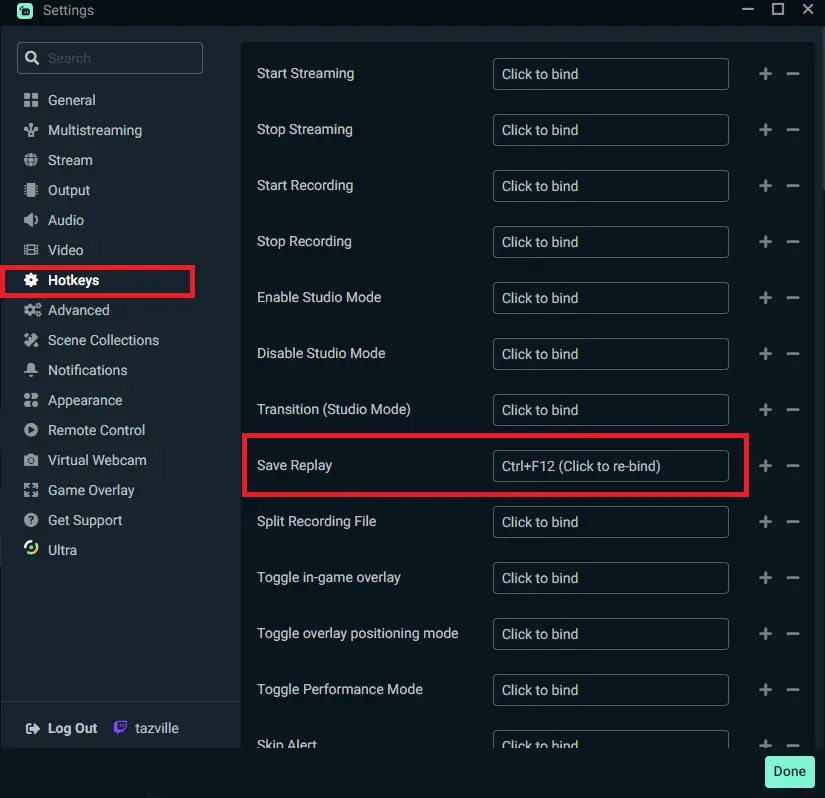
Lastly, make sure to set a keybind for your clips. Navigate to “Hotkeys” under the settings menu and set a “Save Replay” keybind.
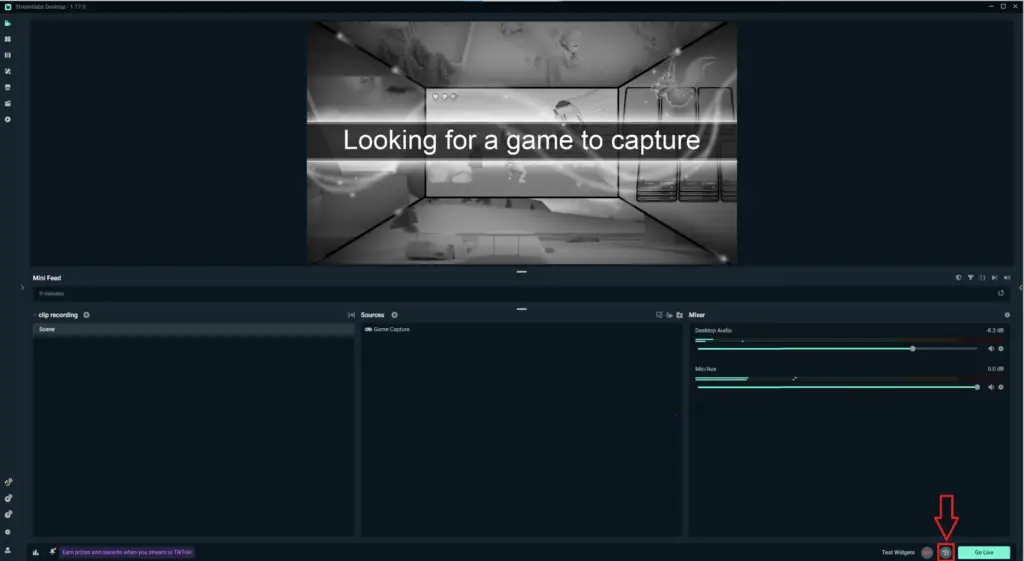
Now that you have all your settings adjusted, open a game and test your clips to make sure you’re getting YOUR MIC as well as YOUR GAMEPLAY coming through. Make sure you have clipping enabled by selecting the “Play” icon with an arrow around it in the bottom right corner of your screen. (Picture below for reference).
Need more help? #
If your clipping software is not working, feel free to reach out through a ticket in discord and ask for help.


