
Goal: This guide will get you started as a brand new Star Citizen player. It covers getting from the hab to your hangar and taking your first flight. We’ve made it as detailed and readable as possible, but Star Citizen is an extremely complicated game. If you’re having trouble it’s a good idea to hop in a VC and ask questions with experienced players, or request a sherpa session using the ticket tool on discord.
Skills you will learn: Basic navigation of Area 18, basic flight skills and interplanetary navigation
Before starting the game, make sure it’s installed on an SSD. The faster the better, a spinning hard disk drive will not work.
The main menu has a couple options. The Persistent Universe is the full MMO universe. Arena Commander features several arcade game modes like racing and death match with small lobbies and quick repawns to allow you to practice ship or FPS skills. Reference here for options https://theunnamedcorp.com/index.php/wiki/sc-flight-aerial-manual/ . This guide will cover a few basic options relevant to beginner flight. For now, select Persistent Universe.
Create your character. Express yourself! Be warned there are some small issues with the female avatar, like hindered visibility in models made for the male avatar. They may have solved institutional sexism by the 30th century, but here in the 21st it unfortunately still exists. If you create a character you like, you can export the character file using the “save” button on the last tab of the character creator. You can also import other people’s character files.
DO NOT START THE TUTORIAL. It’s probably broken again.
Starting Locations #
Select a home location. This is where you will first spawn and where your persistent hangar will be. All the items you own will be in the inventory. You can change your respawn point to other med bays, but you will always have an option to reset it to here.
There are two systems. Pyro – lawless and not recommended for new players. You can visit pyro as you gain experience with the game. Stanton – safer and Strongly recommended to start in. In Stanton there are four cities you can start in. We recommend Area 18. This guide will specifically describe Area 18. Other cities are similar but with different layouts and styling.
- Area 18 is the org defacto home spawn. It has many shops that are close to the habs where you can buy FPS gear and ship parts. It also has the shortest tram ride to the hangars. The only downside of A18 is you can’t spawn ground vehicles because the planet surface isn’t explorable.
- Loreville is functionally similar to A18 but with a grimier look. It does have a vehicle bay since you can drive over the planet’s surface.
- Some people like to start at New Babbage because Microtech is a beautiful snowy forest planet, however it’s on the very edge of the system and it will be a long jump to any other planet.
- Orison Is a floating city in the atmosphere of the gas giant Crusader. It’s very beautiful and is centrally located in the system, however it’s generally avoided as a starting location because it’s prone to performance issues and bugs.
Area 18 navigation #
You spawn in a random hab room. Hold Y to get out of bed. This is also the button to get out of cockpit seats, turrets and any other seats.
When you first load in, the game is still compiling shaders. You will have very low framerates for up to 15 minutes, then it will get better. It’s best to just wait.
Interaction mode. Look around the room. There is a kiosk on one wall with a screen and yellow piping. Walk up to that.
- You will see an “F” prompt.
- Tap F on an interactive object to execute the default action, usually shown next to the “F” prompt.
- Hold F to enter Interaction Mode where you can left click on interactive objects items, buttons or MFDs
- Hold F and right click to see a wheel of alternate actions. This kiosk doesn’t have any alternate actions, so just press F.
This kiosk is where you can access gear and items you own that are in your local city inventory. Inventory is localized, so items will only be accessible from an inventory kiosk or cargo elevator at the city or station where you stored them. Otherwise, pressing “I” will bring up the gear you’re wearing or carrying in your backpack and pockets.
- Depending on the game package you bought you might not have any gear yet. If you do, best to leave it in storage for now. You can come back for it when you’re able to take off without crashing.
Wearing just your flight suit and helmet, leave the room. Again, tap F on the prompt or use interaction mode and click the door button to open it.
Follow the hallway to a common area with seats and a window. There is an elevator across from the window. Call it using interaction mode.
Elevators are a common problem in Star Citizen. There are a few things you can do to have better luck. Don’t mash the elevator button. Press it once, it should say “elevator called.” If it doesn’t, keep pressing it slowly until it does. If the elevator doors open and all you see is blackness or the inside of the planet, don’t get in. You will die.
Once you’re in the elevator, use interaction mode to click the “Lobby” button. While looking at the elevator panel and holding F you can use the scroll wheel to scroll through the elevator options.
At any time you can press F2 to bring up a map. On foot this will show a map of the building or ship you are in. In space it will show you the star map. You can use your mouse scroll wheel to zoom in or out through the map layers, from ground level up to the Star Map.
Pathway Setting
When trying to navigate to a location within a station, base, or ship (not located behind a locked door), it is useful to open your map and use the “R” button while placing your mouse on the location you’re moving towards. This will set a pathway routing you towards your location, which is visible on your minimap.
For now you can use it as a reference to navigate Area 18.
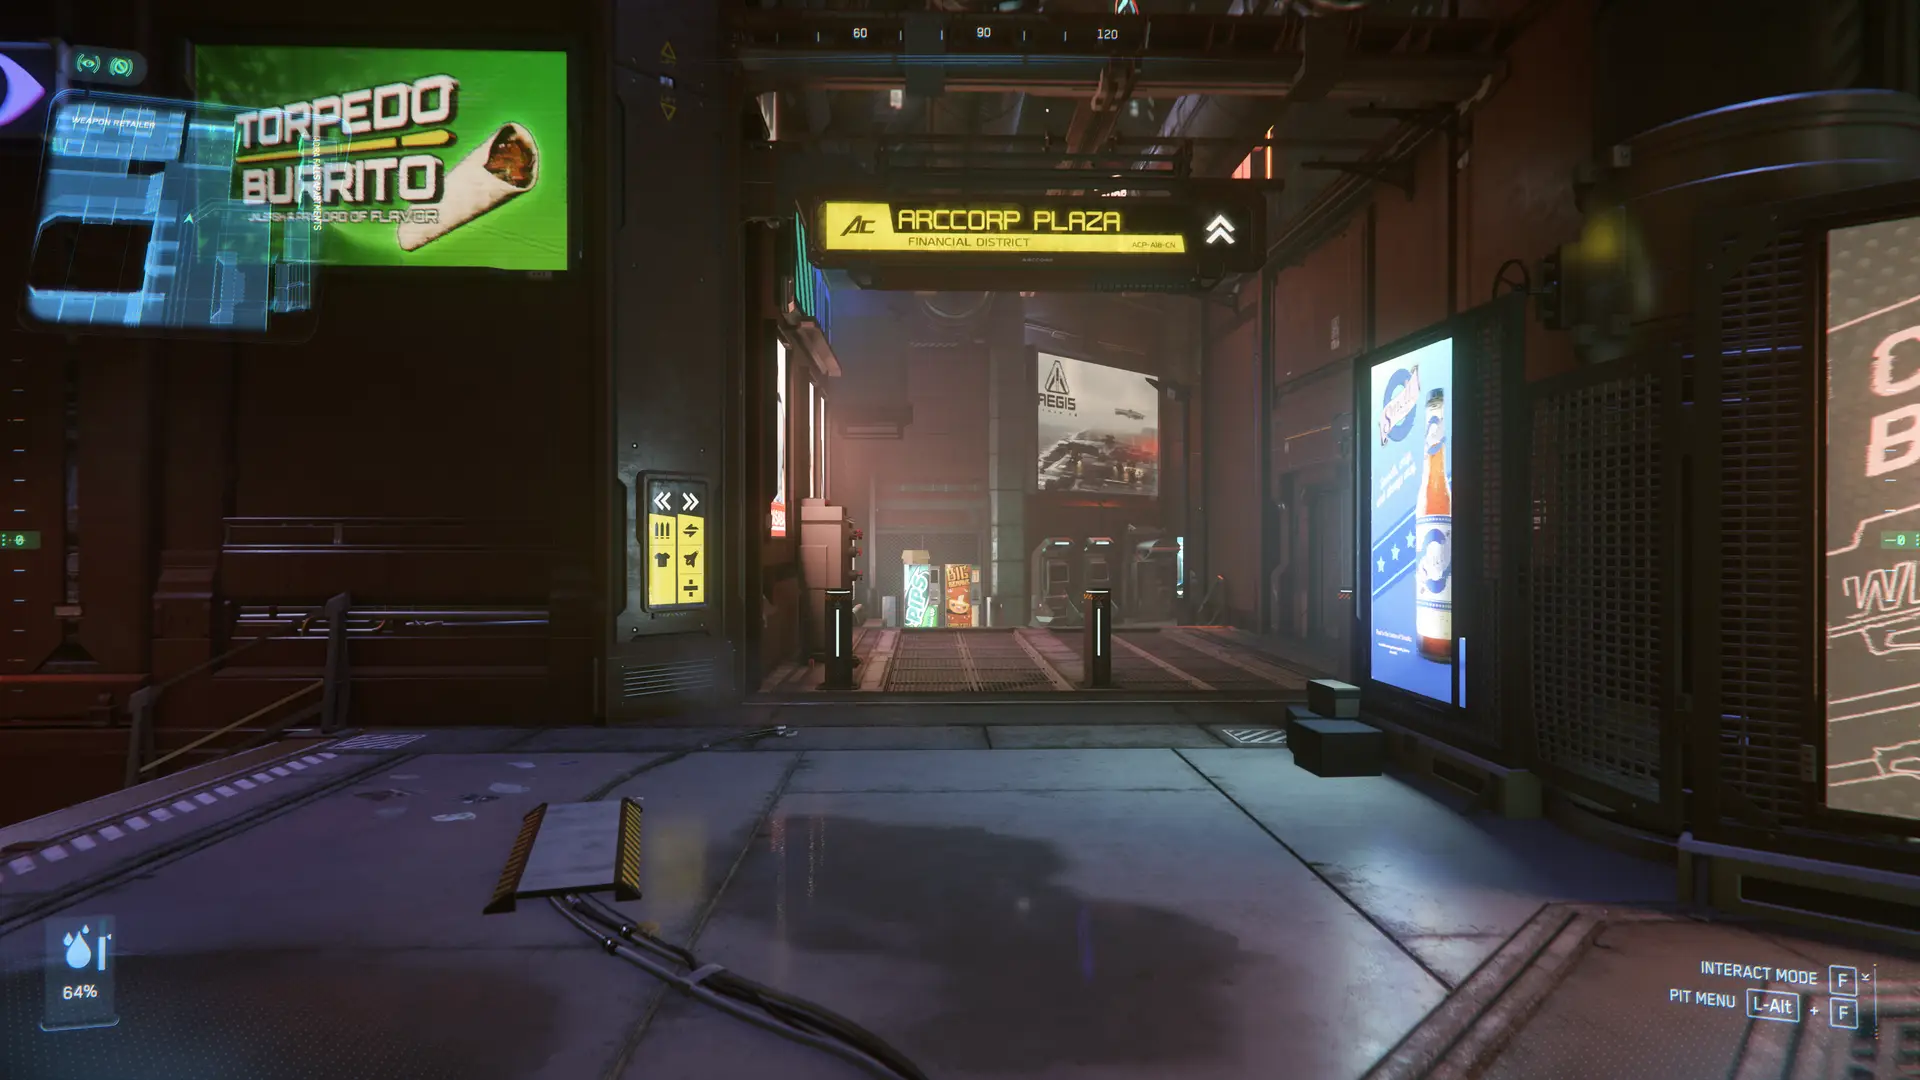
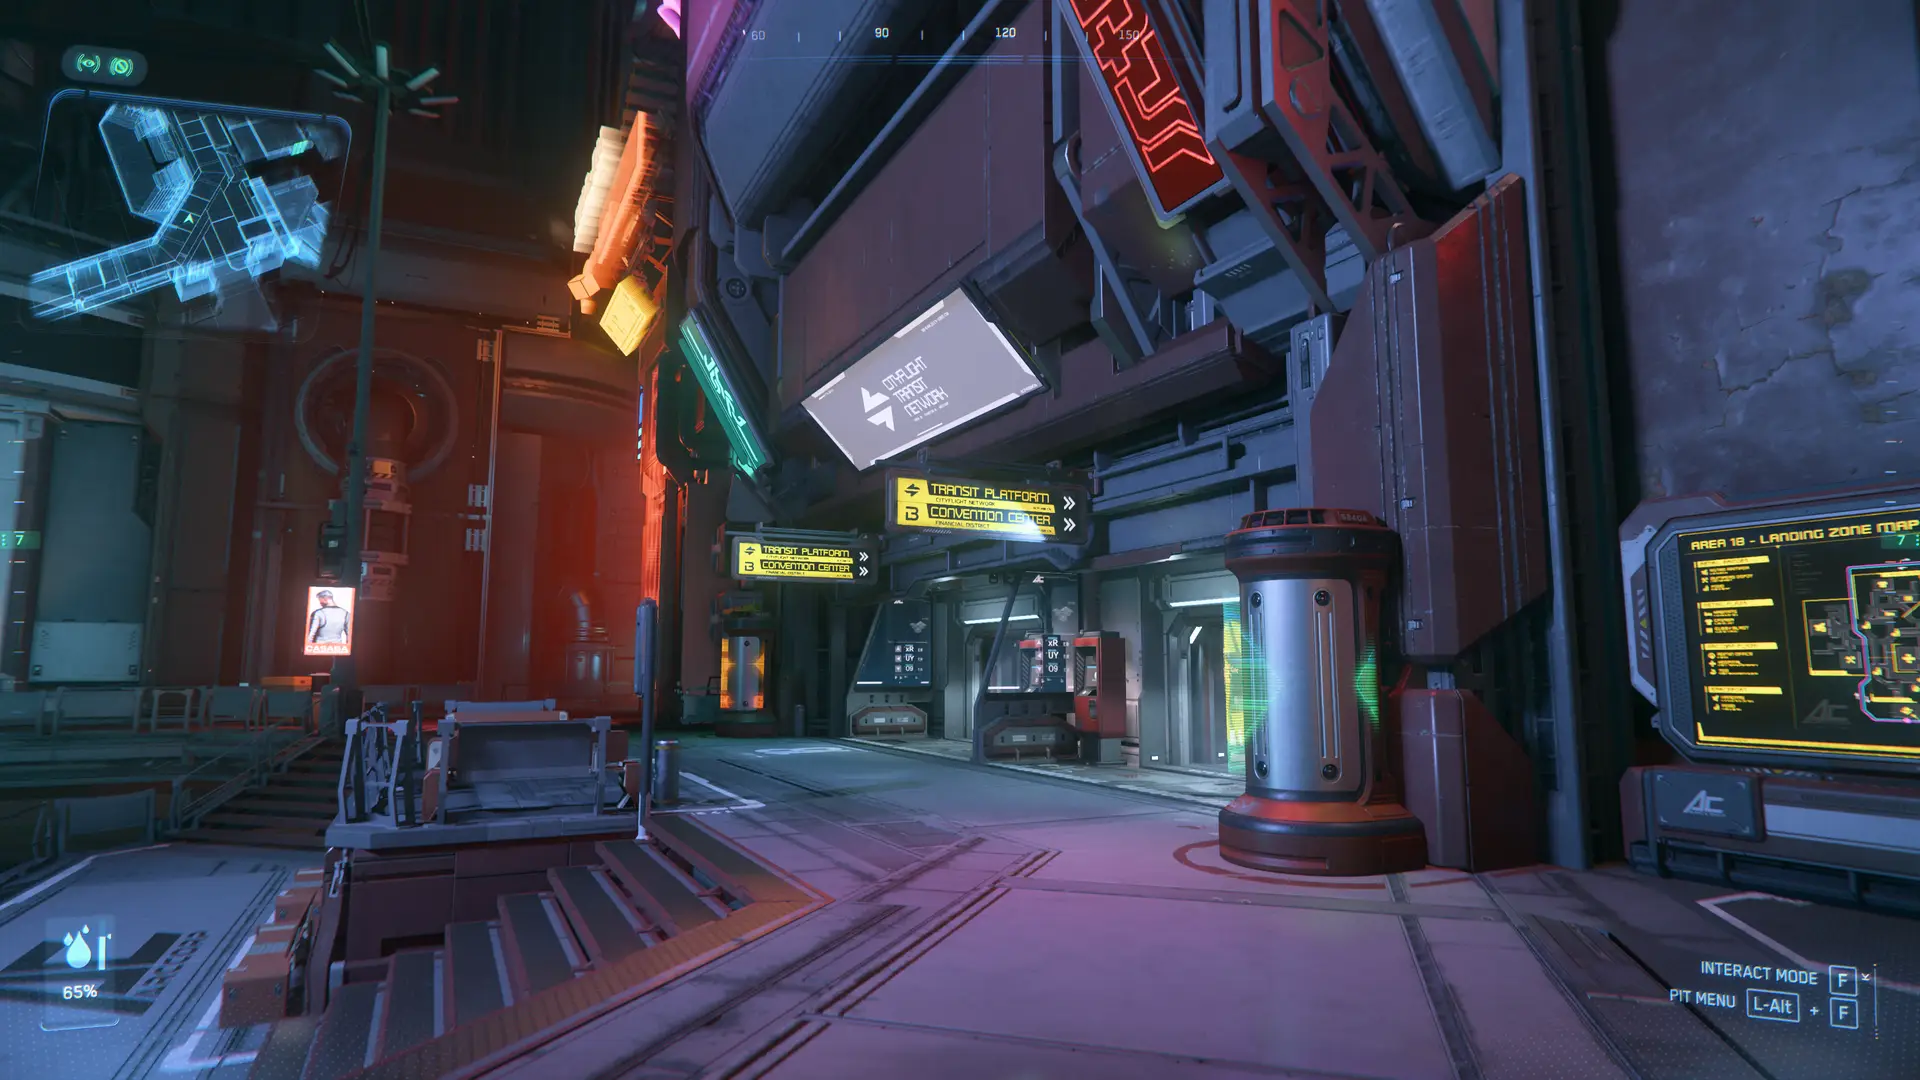
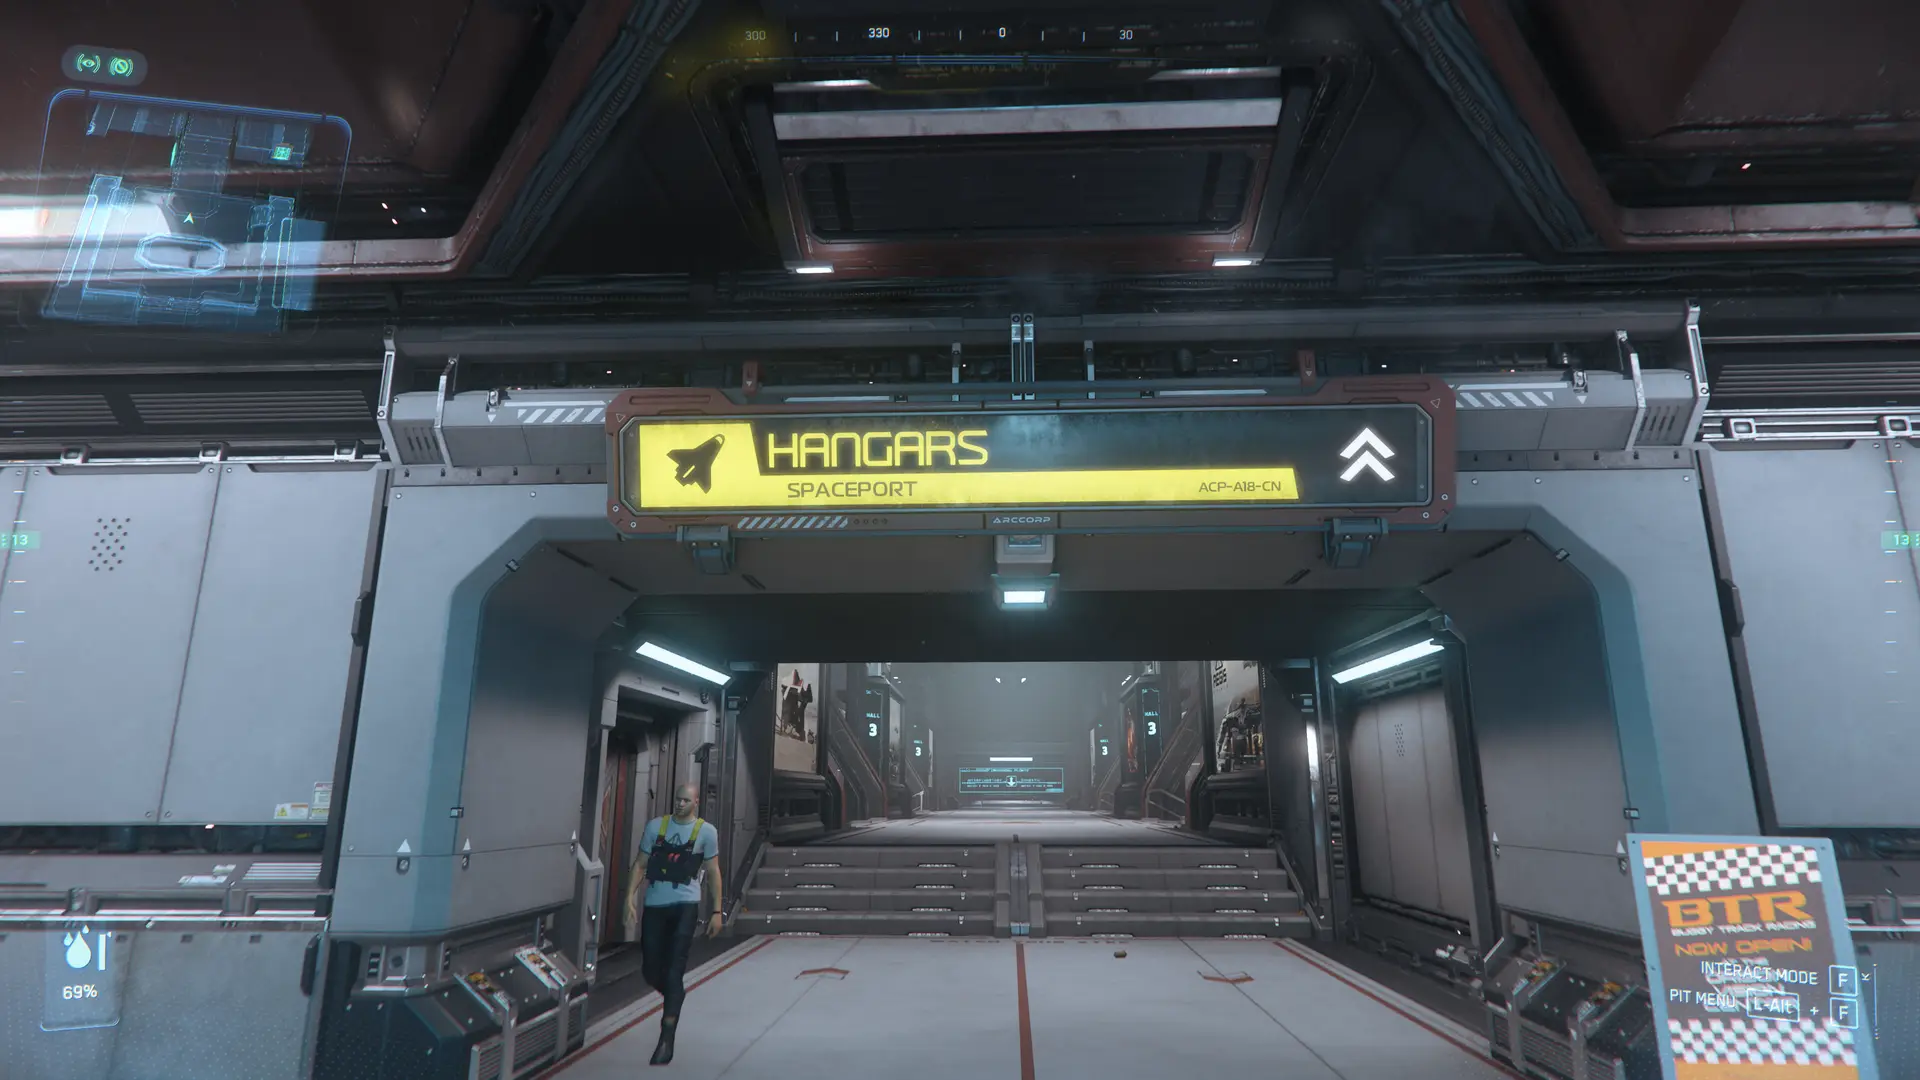
Leave the building by turning right and following the signs to the exit. When you exit the building immediately turn right again and follow the wall down an alley past a hotdog stand and out to the central ArcCorp plaza, where you will see a huge floating holographic ball.
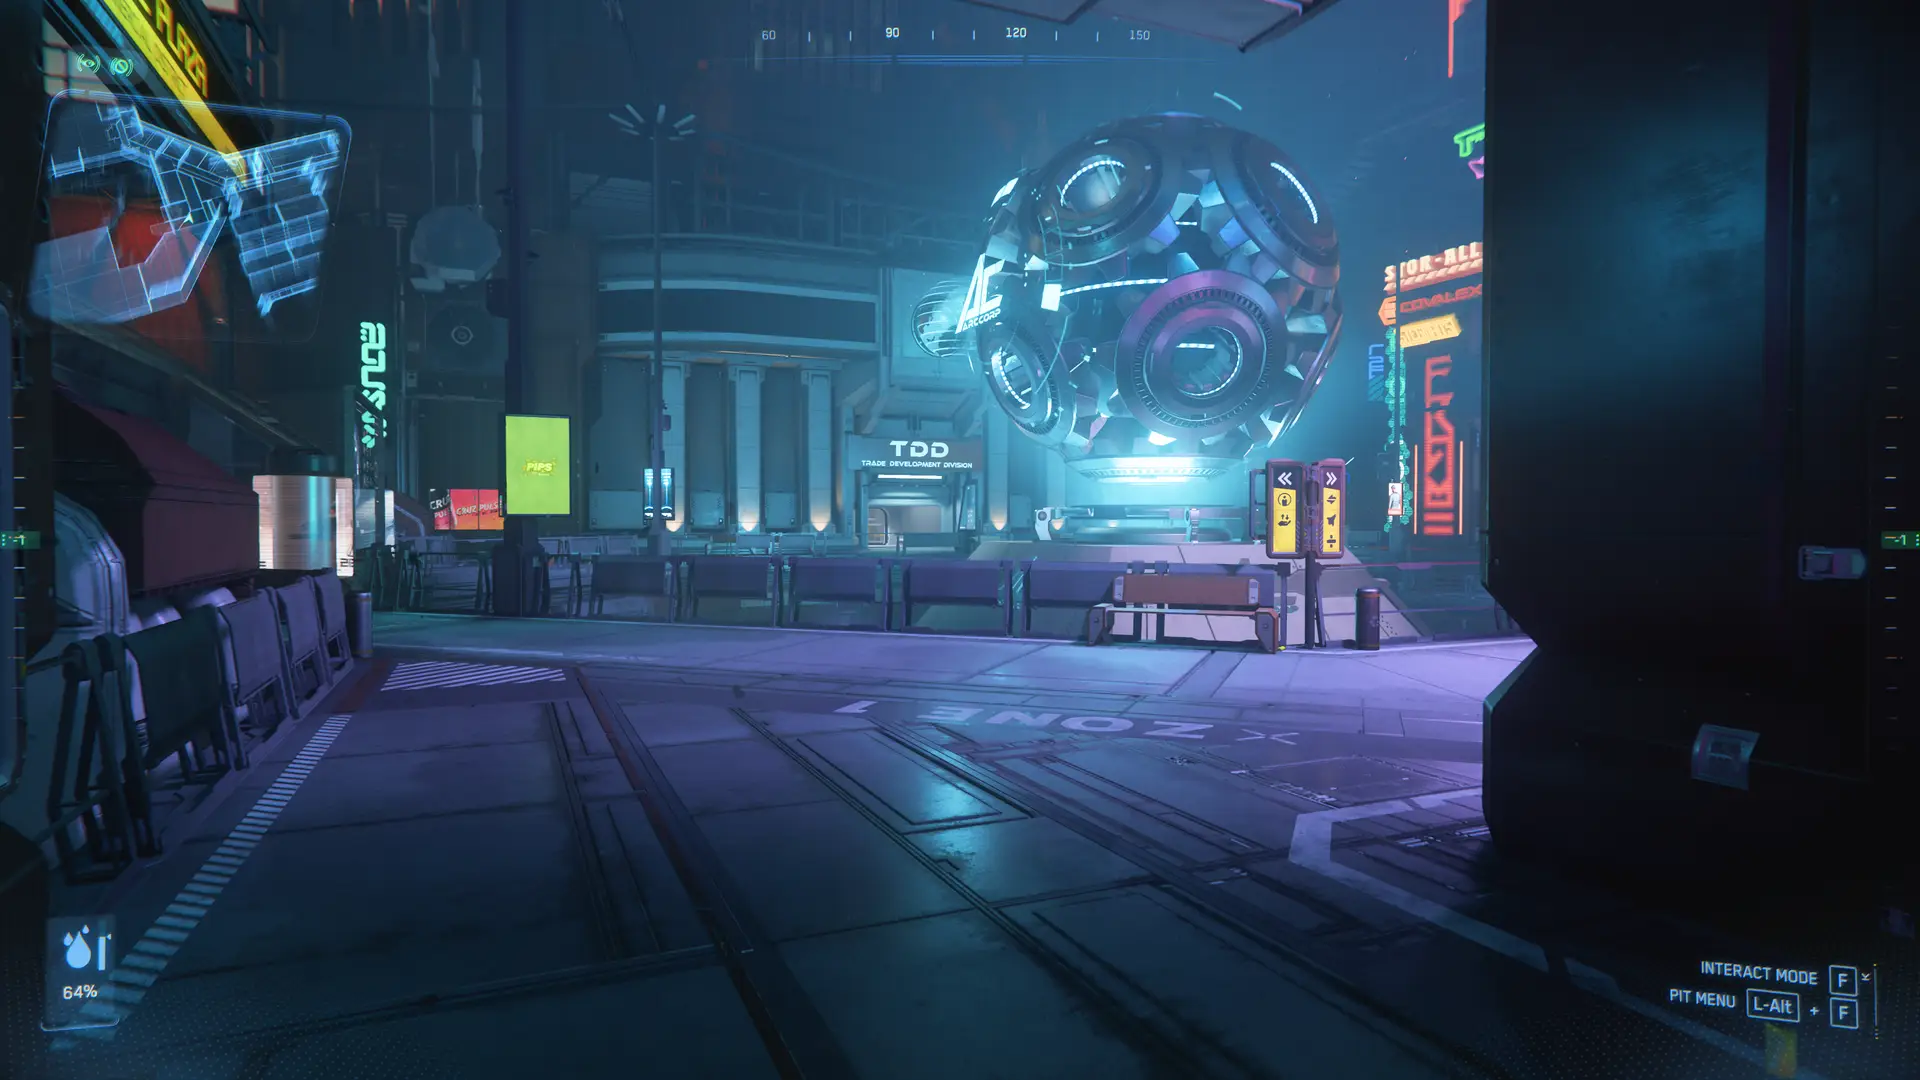
Turn right again and follow the walkway and signs past some stairs leading down to the right. This is where the shops and trading division are. The walkway curves left past a bench and potted plant and in front of you is the entrance to the transit system. Take the right door and follow the steps down to the hallway on the right. The right train will take you to the spaceport, the left goes to the exhibition hall.
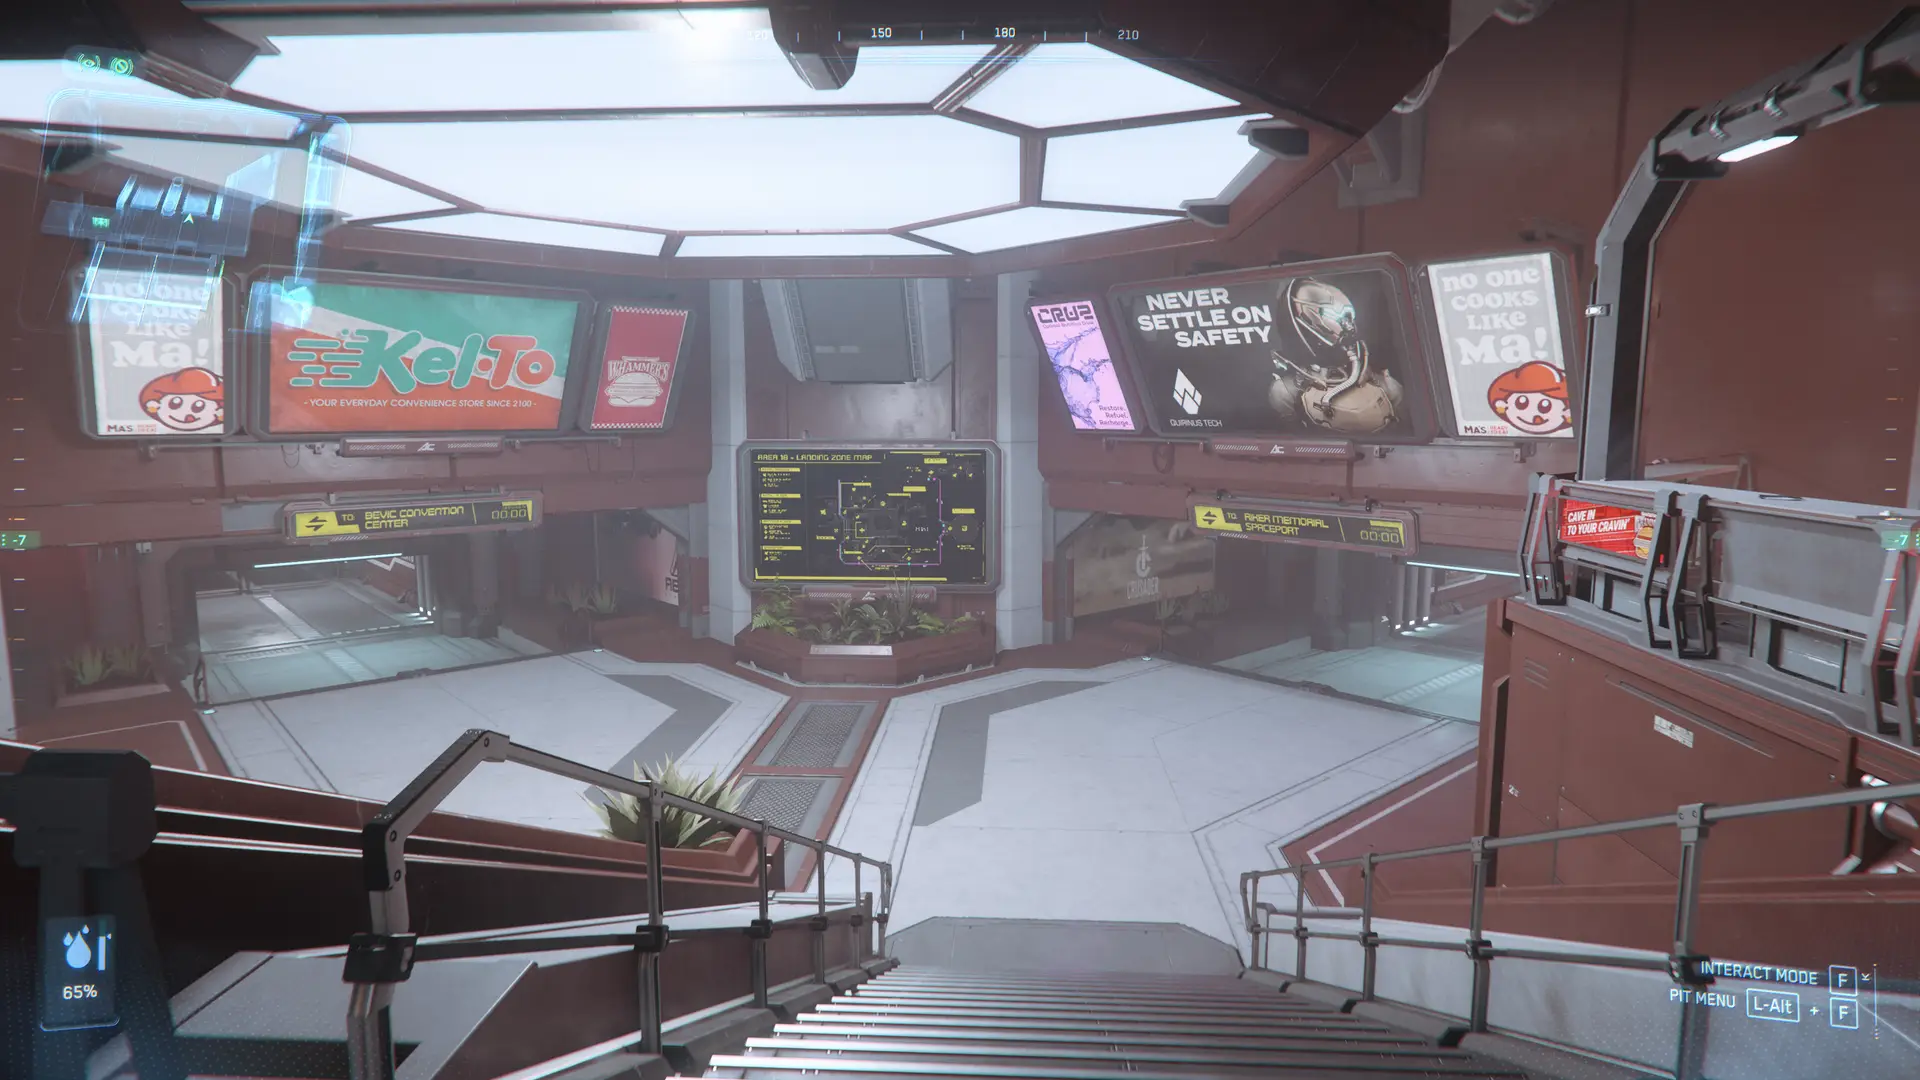
The train arrives every 30 seconds to 1 minute (usually) Transit is often bugged in this game. The timer above the door at the edge of the platform will tell you when the train arrives.

When it arrives, hop on. If you tap F on a seat you can sit down. Remember to hold Y to get back up.
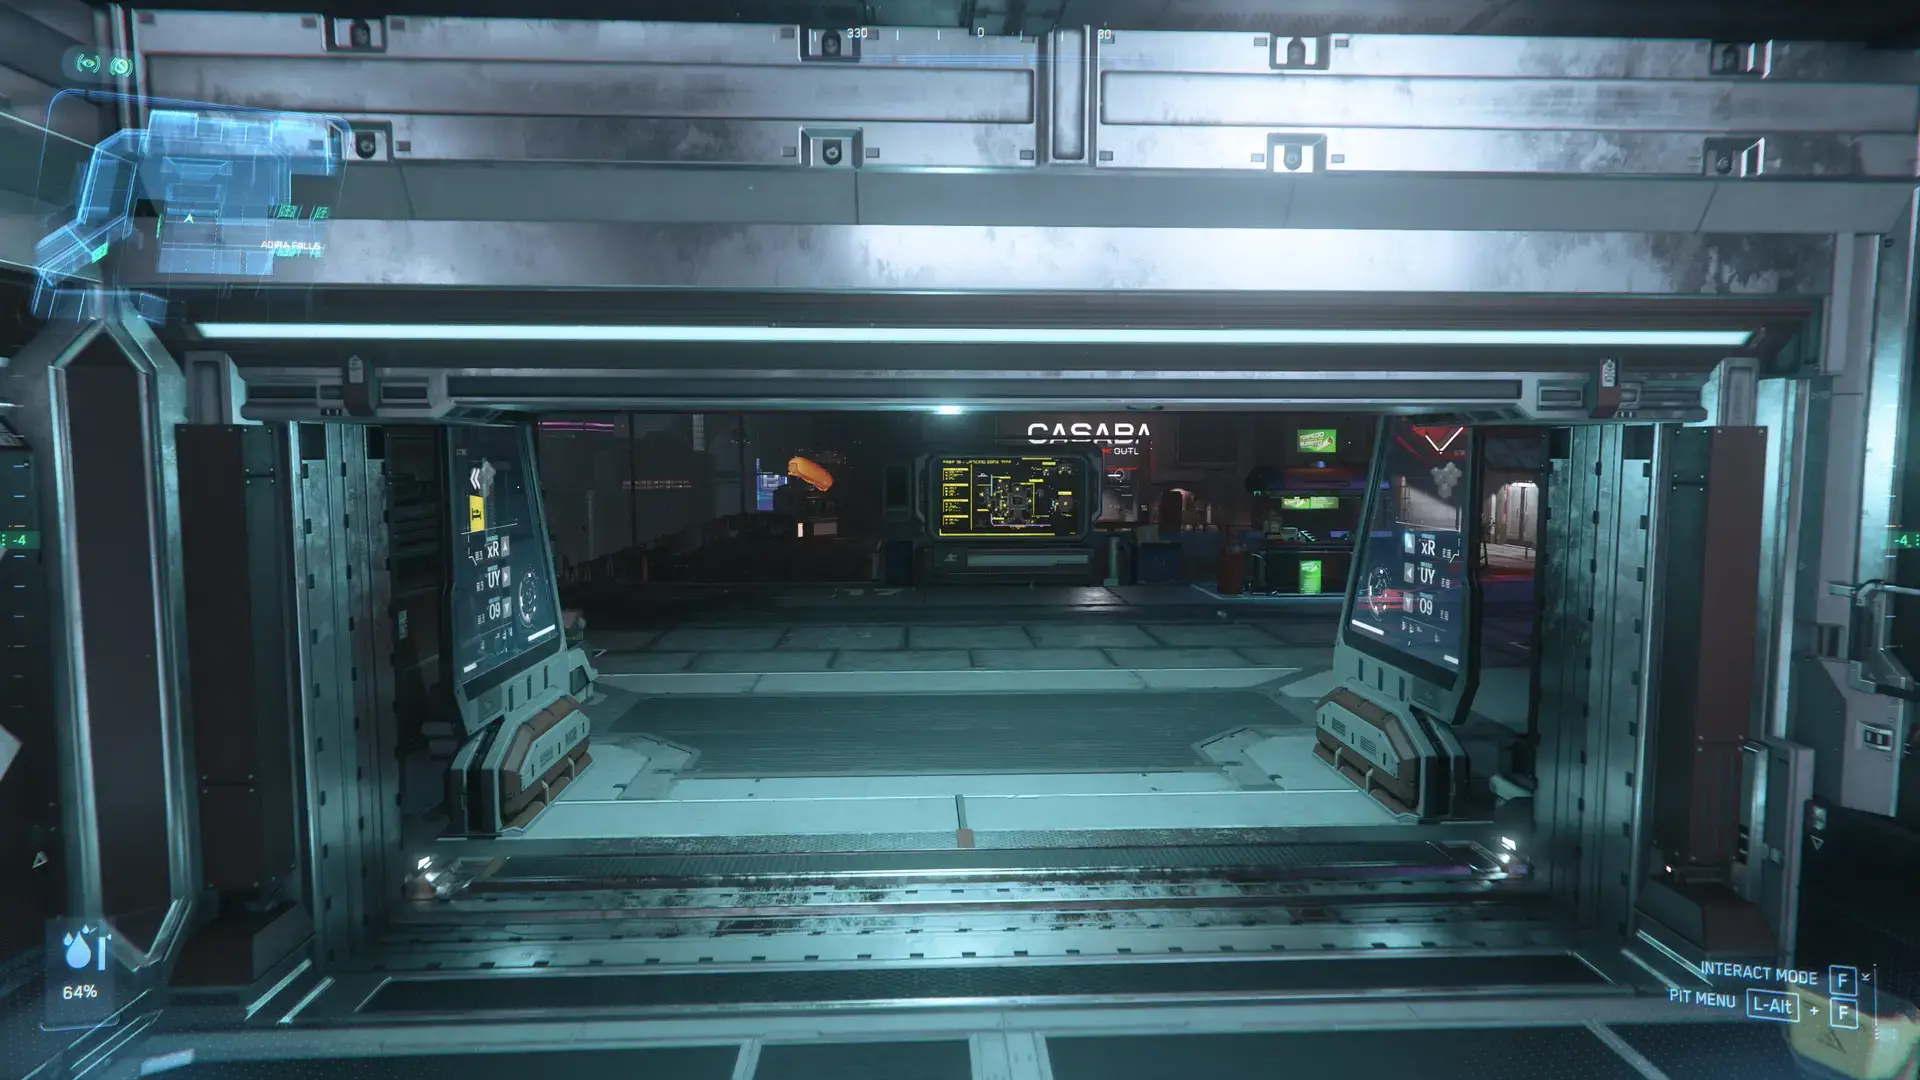
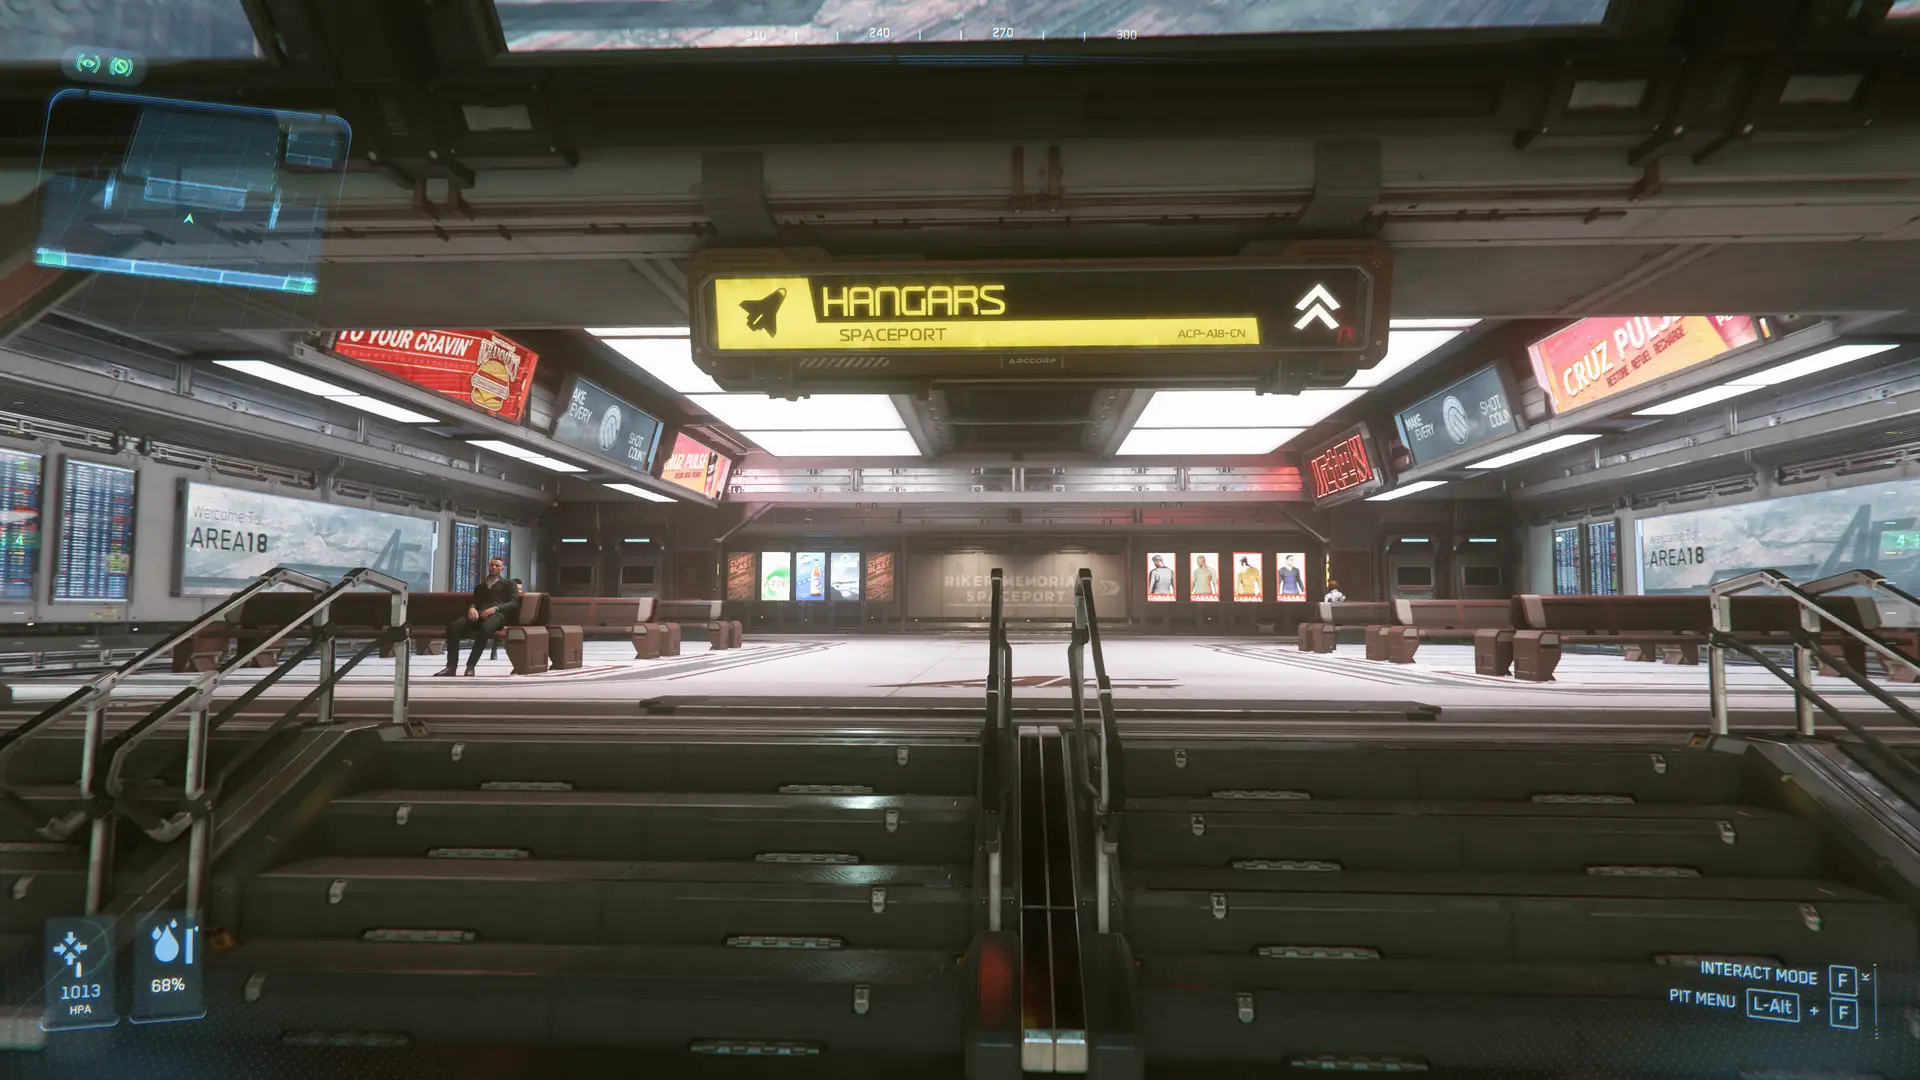
The spaceport is the next stop. Get off and follow the steps up, then hang to the right. Run through the security checkpoint and keep following the hall until you reach a large room. In front of you are more item kiosks. Circle around them and continue straight up the steps on the other side. Through the short hall and then down again to your right are the ASOP terminals (Automated Ship Organization Program) and hangar elevators.
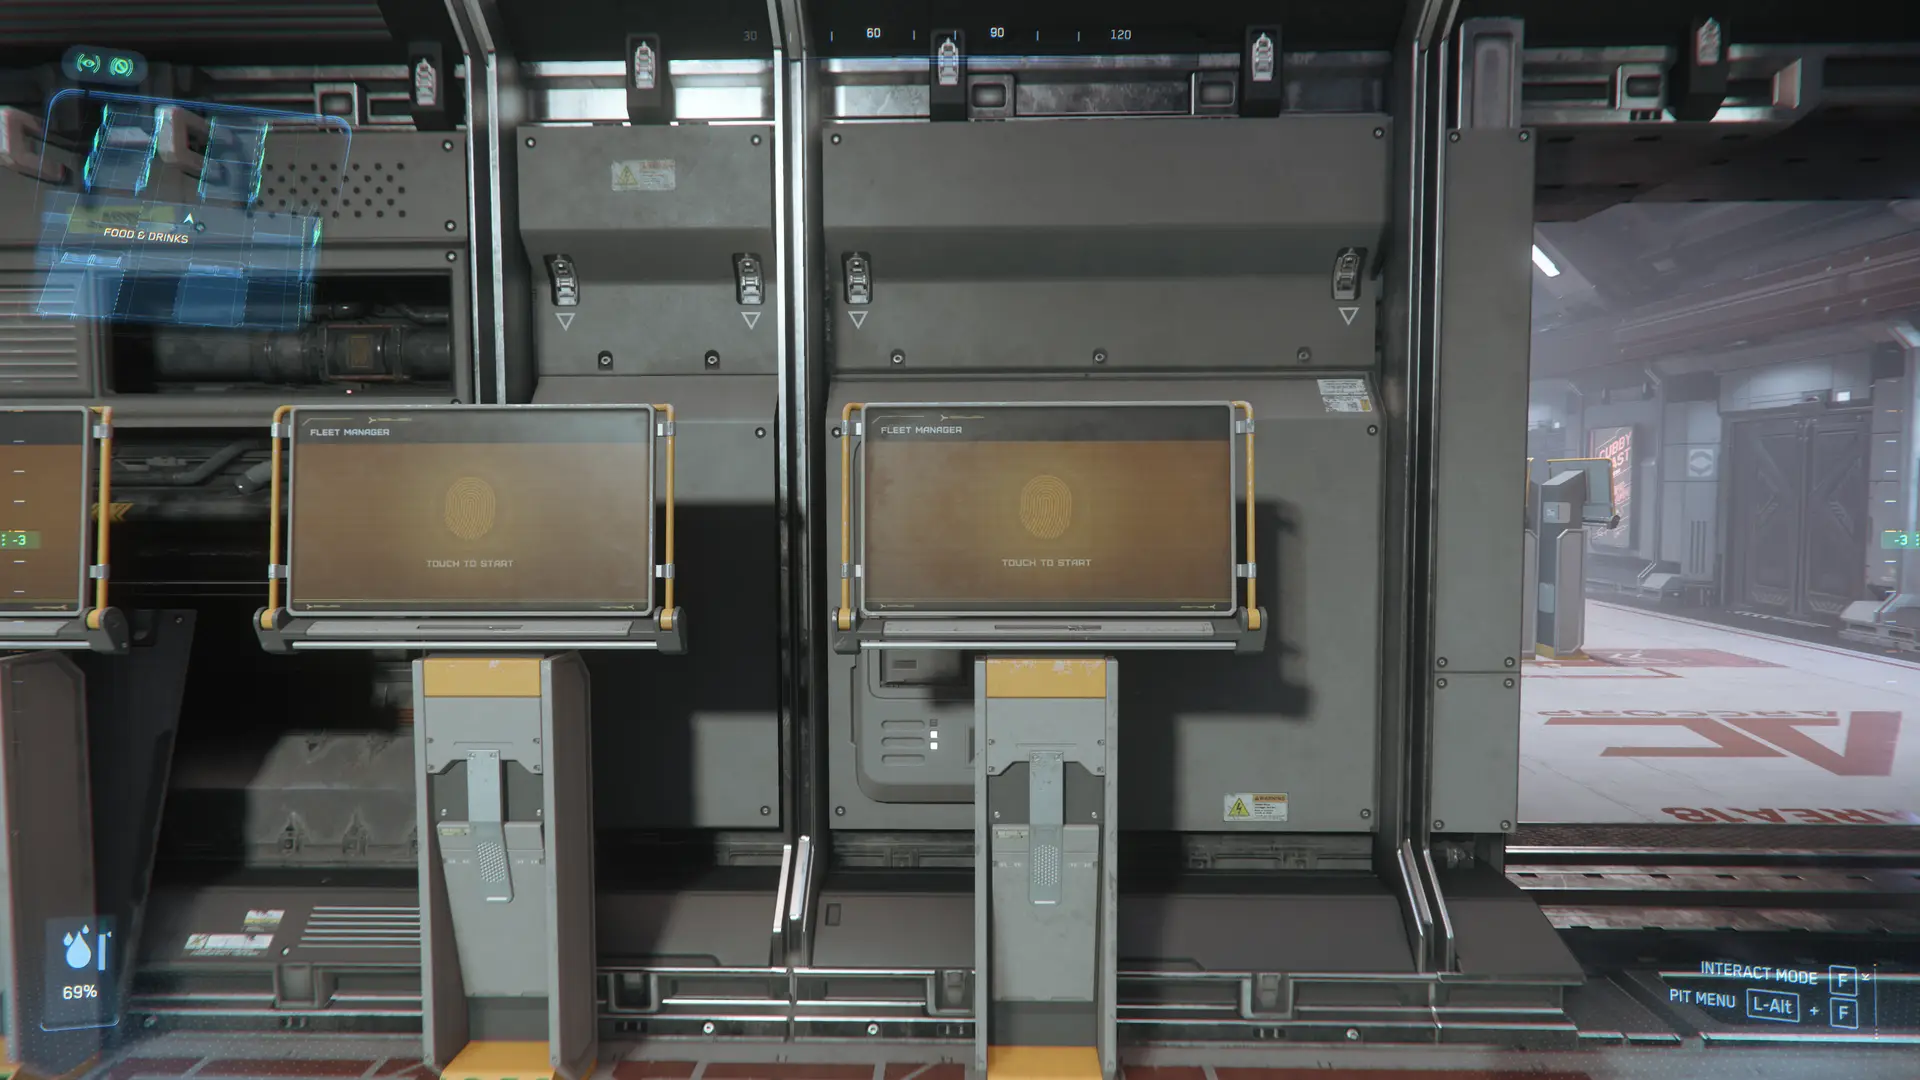
Use F to interact with the yellow ASOP terminal. This is where you call your ships. You should see a list of your ships with their status on the right. You probably only have a starter ship, and possibly a small ground vehicle or hoverbike if you got a referral reward. Ground vehicles can’t be spawned at A18 so you won’t see them in this terminal.
Click “Deliver” on the right. Ships that haven’t been called yet need to be delivered. This is instant, so click “Go back” in the bottom right. Now the “deliver” icon will have changed to an arrow. You can retrieve the ship from this screen, but it can avoid some bugs if you do it from your hangar instead.
Screens like this will “magnetize” your view to them, so click the “X” at the top right to exit the screen without having it pull your view towards it as you walk away.
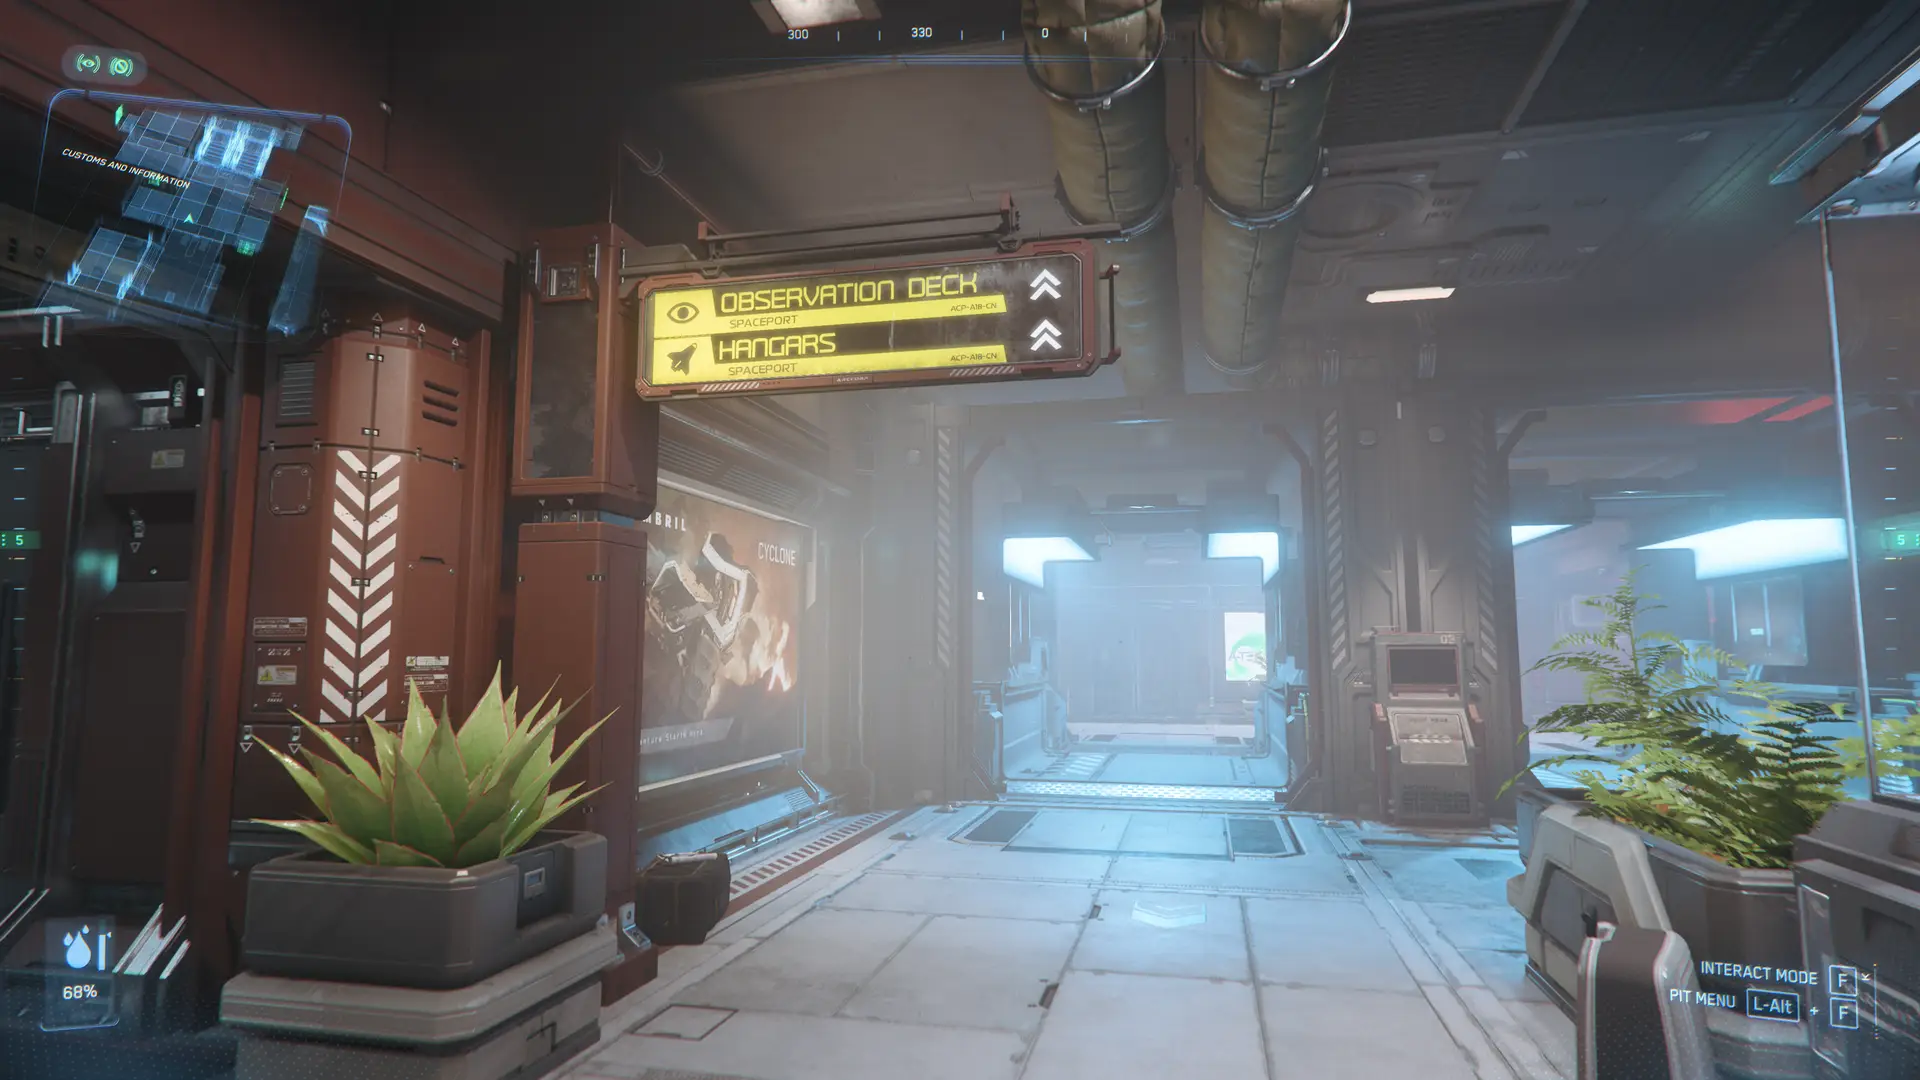
Walk to the hangar elevators which are in the room directly right of the ASOP terminals. Call an elevator and then hold F to enter interaction mode and use the scroll wheel to scroll all the way to the bottom of the list. You should see a button labeled “YourName’s small hangar.” If you own a larger pledge ship it will be medium or large.
This is your persistent hangar. Items you place here and cargo, ships or vehicles you leave will remain where they are. You can find or buy items to decorate it. Only this hangar at your home location will be fully persistent. Hangars at other cities or stations will only persist as long as you are in them, so all ships, items and cargo there should be stored. Remember, inventory is localized. Things you store can only be accessed from the location where you stored them.
If you got a paint as part of your package, you need to apply it while the ship is stored. Press F1 to open your mobiglass, then click the “Vehicles” icon on the bottom tray in the far right. Click the dropdown in the top tight and select your ship. Click the “Paints” tab and select your paint. You need to click “equip” on the paint and then “save and equip” in the lower right for the changes to save. This is how you will change most components on ships. Feel free to take a look at your ship’s loadout, but don’t accidentally unequip anything!
If you die at any point during your first flight you will respawn at the A18 hospital. To get out take the elevators down to the first floor and follow the signs for the exit. Immediately turn right and the transit entrance will be right in front of you. Follow the directions back to the spaceport. You will now need to claim your ship, which will require waiting for a timer. You can speed up the timer by paying an expedite fee. Don’t pay the expedite fee until the expedited time says “Instant”. The fee goes down as you wait, so no point paying a higher fee and then still having to wait.
FLIGHT #
There is an ASOP terminal in every hangar. Go here and retrieve your ship. It will come up the lift into your hangar. If it’s clipped into the lift, immediately store it and recall it, otherwise it will be destroyed.
Now your ship is on the pad. Ships are physically modeled so you will need to press the door button specific to your ship to operate it’s door. Here are some common starters:
- Aurora: The door to the aurora is a circular airlock on the left front of the ship. Press F anywhere on the door to enter. Then turn left and press F again to enter the pilot seat.
- Mustang: The Mustang is entered through the cockpit. There is a panel on the left of the nose, below the pilot seat that will deploy a ladder directly into the pilot seat.
- Cutter: The cutter entrance is through the rear cargo bay. There is a panel on the lower left (?) of the ramp to open it.
- Pisces: Similar to the cutter, enter the Pisces through the rear ramp.
- Titan: The Titan can be entered through the rear ramp or directly into the cockpit. To open the ramp you need to hold F and click on the highlighted blue area of the ramp. To enter the cockpit, deploy the ladder from a silver panel on the left side of the nose under the canopy.
Settings and keybinds #
Before you fly there are a few settings you’ll want to change. Hit ESC and go to the Options menu. Under the Game Settings tab, scroll about ¼ of the way down until you see these settings:
- Defaults – Flight – Automatic Slowdown On: <NO>
- This setting limits your max speed with the landing gear down. It also limits your acceleration, making it harder to stop when coming in for a landing. You will learn to control your speed and approach manually, and ultimately it will be easier to land.
- Defaults – Flight – Gravity Compensation On: <YES>
- This tells the ship’s flight control system to compensate for gravity. In coupled mode it will allow you to hover without falling slowly, and in decoupled mode it will prevent gravity from affecting your vector.
- Defaults – Flight – Advanced HUD On Nav Mode: <YES>
- Defaults – Flight Advanced HUD On SCM Mode: <YES>
- Defaults – Flight – Advanced HUD Prefers Labels: <YES>
- These settings permanently enable the advanced HUD, which gives you the most information about your ship. It’s also the HUD most players use so it will make answering questions easier.
You will be flying in Coupled mode. Decoupled Mode will be covered in another guide.
Your First Steps in the Pilot Seat #
Now you’re ready to fly. Press R to power on the ship. Your ship will spawn with the engines powered down. Press I to ignite the engines.
You can tell which parts of your ship are powered on by holding F and looking at one of your MFDs (Multi-Function Displays). While holding F, click the left arrow at the bottom of the MFD until you come to the power management screen. This screen has bars to indicate how much power is going to your components. From the left the components are Guns, Engines, Shields, Quantum Drive, Radar, Life Support and Coolers. Hovering over an icon will tell you which component it represents.
If the component is powered on you will see a stack of bars above the icon. By default, I toggles power to engines, O to shields and P to weapons. U cuts power to all components.
Your MFDs have many different functions that will be covered more in another guide.
While looking around at your MFDs, acquaint yourself with your ship’s cockpit. Each ship has a unique cockpit and MFD layout. There are many physicalized buttons that you can interact with by holding F. The layout and function of these depends on the ship, when you hover over a button you will see a floating prompt that tells you its function.
You can also access essential ship functions using the right click menu. Hold F and right click while in the pilot seat to bring up a wheel of ship functions. There are sub menus within this wheel. It can be a useful tool but you will find keybinds and ship buttons are often more convenient.
The controls for flight will depend on your control setup. This guide will cover keyboard and mouse. If you have a different control setup (joysticks, throttles, controllers, etc) we recommend you request a Sherpa session so we can help you set them up.
Taking off #
To open the hangar doors, hail the ATC. You can do this by pressing LEFT ALT+N. You can also press F11 to open the Communication tab on your mobiglass. Navigate to the Friends tab on the left. At the top you will see the ATC of the station or city you’re at. Click the wifi icon by their name to open communication and request takeoff
Once the doors are open it’s time for takeoff. SPACE strafes up, CTRL down, A left, D right, W forward, and S backward. Q and E roll left and right. F4 to go into third person view. In coupled mode your ship moves similarly to an FPS character. Pressing a strafe key will move your ship in that direction at maximum acceleration until you reach your speed limit. When you release the key the FCS (flight control system) will fire the opposite thrusters to cancel your movement vectors until your ship comes to a stop.
Use LEFT ALT+scroll wheel and RIGHT ALT+scroll wheel to set your speed limiter and acceleration limiter, respectively.
Try setting your acceleration limiter to half (Right Alt- Scroll wheel). Then tap Space to lift off the pad. You will notice your ship jumps into the air quickly even with the acceleration limited. Be careful not to hit the ceiling!
This jump is due to the way coupled mode works, and it can make landing and takeoff difficult if you’re not careful, especially without acceleration limited. We highly recommend you learn decoupled as soon as possible, but for now we’re going to stay in coupled mode because it offers more flight assists for new pilots.
Now you’re hovering in your hangar. Use the mouse to move the nose of your ship. This functions as a virtual joystick, so the nose will continue to follow your mouse until you return it to center.
In A18 the hangars are below ground, so you will need to press SPACE to accelerate up and out of your hangar. Congratulations, you’re flying!
Because you’re in coupled mode, if you release your inputs your ship will decelerate and stop, hovering in place. Release your inputs now and return your acceleration limiter to 100% using RIGHT ALT+scroll wheel up.
Keep flying up until you clear the nearby buildings, then switch to forward thrust with W and lift your nose to gain altitude.
Try rolling back and forth, and experiment with your flight controls. Ships control similar to an airplane in coupled mode, but with 6 degrees of movement and much more powerful yaw. Because the yaw is so powerful it’s tempting to turn with yaw, especially using a mouse. This is not ideal, instead try to roll into the direction you want to turn and use pitch up to bring your nose around. This will give you faster and more stable turns, especially in an environment with atmosphere. If you’ve flown planes in other games this will be a familiar movement.
Navigation and Quantum Travel #
Right now you are in SCM (Space Combat Maneuvering) Mode. In this mode your shields and guns are active, and you’re limited to about 200m/s (more or less depending on the ship). To travel faster, activate Nav Mode. This will drop your shields and disable your weapons, as well as countermeasures, but allow you to travel quicker. Press B to cycle between SCM and Nav modes. The default Operator Mode in NAV is Quantum Operator Mode [QTM], where your quantum drive will automatically spool once you enter NAV mode.. You will see icons all over your screen representing quantum markers in this mode.
Your Quantum Drive (QT) allows you to jump long distances quickly. You will see two bars around your crosshair. The bar on the right shows your quantum drive charging. It has to fully charge before you can move at NAV speeds. You will also see markers on your screen. They will probably be red, because you are still within the atmosphere. Keep climbing until they turn blue.
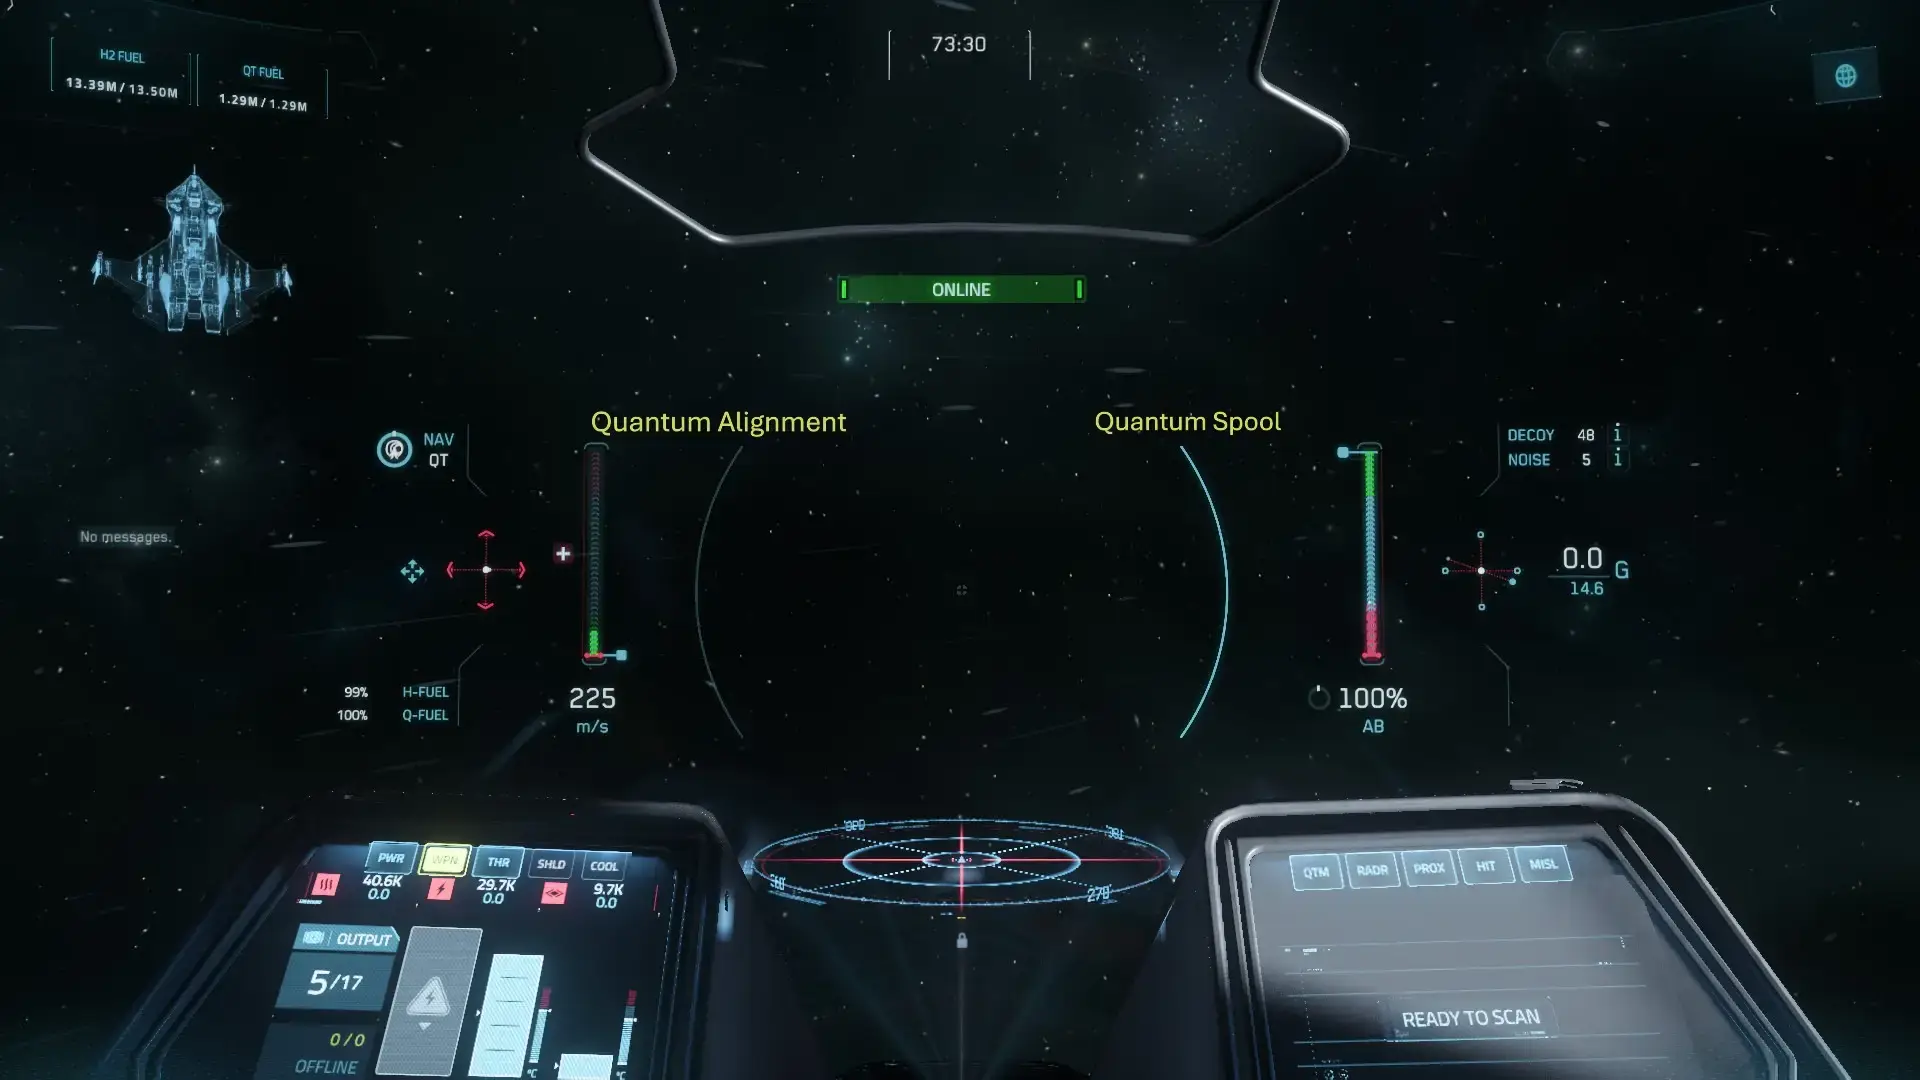
There are two ways to navigate to a quantum marker. You can simply point your nose at it, or you can use the map. Press F2 to open the map. In the search box on the top left type “Baijini Point”. This is the station orbiting above Area 18. Click the result and it will zoom to the station. On the right side click the red “navigate” button. This will chart a course to the quantum beacon you selected. In this case it’s a straight jump, but sometimes there will be intermediate jumps.
Close the map and you should now only see one marker on your screen. It might be near the edge, indicating it’s out of your view. Orient yourself so your crosshair is over the marker. You will see the bar on the left of the crosshair begin charging. When it is done your quantum drive is aligned. You can now press left click to jump.
This is a short jump, you could have flown here in normal flight, but it’s quicker to jump. Longer distances you will need to quantum travel if you want to get there in any reasonable amount of time. During longer quantum jumps you can get out of your seat and walk around your ship, but this is not recommended. There is a chance you can fall out of your ship and be stranded in space. Hopefully this will improve in the future.
Landing at a Space Station #
You will see a space station in front of you. Approach slowly, you are still in QT/NAV mode so your top speed is about 1000 m/s. When you are within a few kilometers you can hail the ATC to request landing. Press LEFT ALT+N or use the Communication tab in your mobiglass.
When you are assigned a hangar you will see a small blue teardrop icon. Switch back to SCM to lower your speed and raise your shields in case of pirates.
The hangars on Baijini are all horizontal hangars, so you will enter from the front. Make sure the doors are open and your ship is oriented so the yellow pad in front of the doors is below you. You don’t want to land upside down. Now press N to lower your landing gear.
It might help to lower your speed limiter with LEFT ALT+SCROLL WHEEL DOWN. For landing you don’t want to lower your acceleration limiter because it will make it harder to stop. X for Space Brake is going to be your friend. Move slowly towards the hangar, using X to stop if you need to. 3rd person camera can make it easier to align yourself (F4). When you are in the hangar bring the ship slowly down onto the pad.
When you have landed press I to power off your engines, this is important on planets, and in your hanger. If the engines aren’t off your ship can end up hovering off the ground and you won’t be able to get back in.
Hold Y to exit your seat. Congratulations, you survived your first flight!
Setting Your Spawn Point #
The last thing to do is set your regen to the station medical clinic. Space stations are much quicker to get in and out of because you don’t have to take public transit like In cities. Take the elevator in your hangar back up to the entrance. Walk out onto the concourse and enjoy a beautiful view of ArcCorp. Follow your map (F2) to the medical clinic. If you walk past the reception desk and turn left there will be a sign saying Olympus with two terminals in front of it. This is the regen terminal. Interact with it and then click “transfer imprint” to set your spawn to this medical clinic. Now when you die you’ll respawn here instead of Area 18. If you ever want to return your spawn to A18 you can interact with the terminal again and click “reset imprint”.
This guide was brought to you by the Sherpa Team!
Enjoyed this guide and want to learn more? Head to our Discord and request a sherpa!
 Author: Lorem Ipsum
 Collaborator: SmokeEaterVFF


